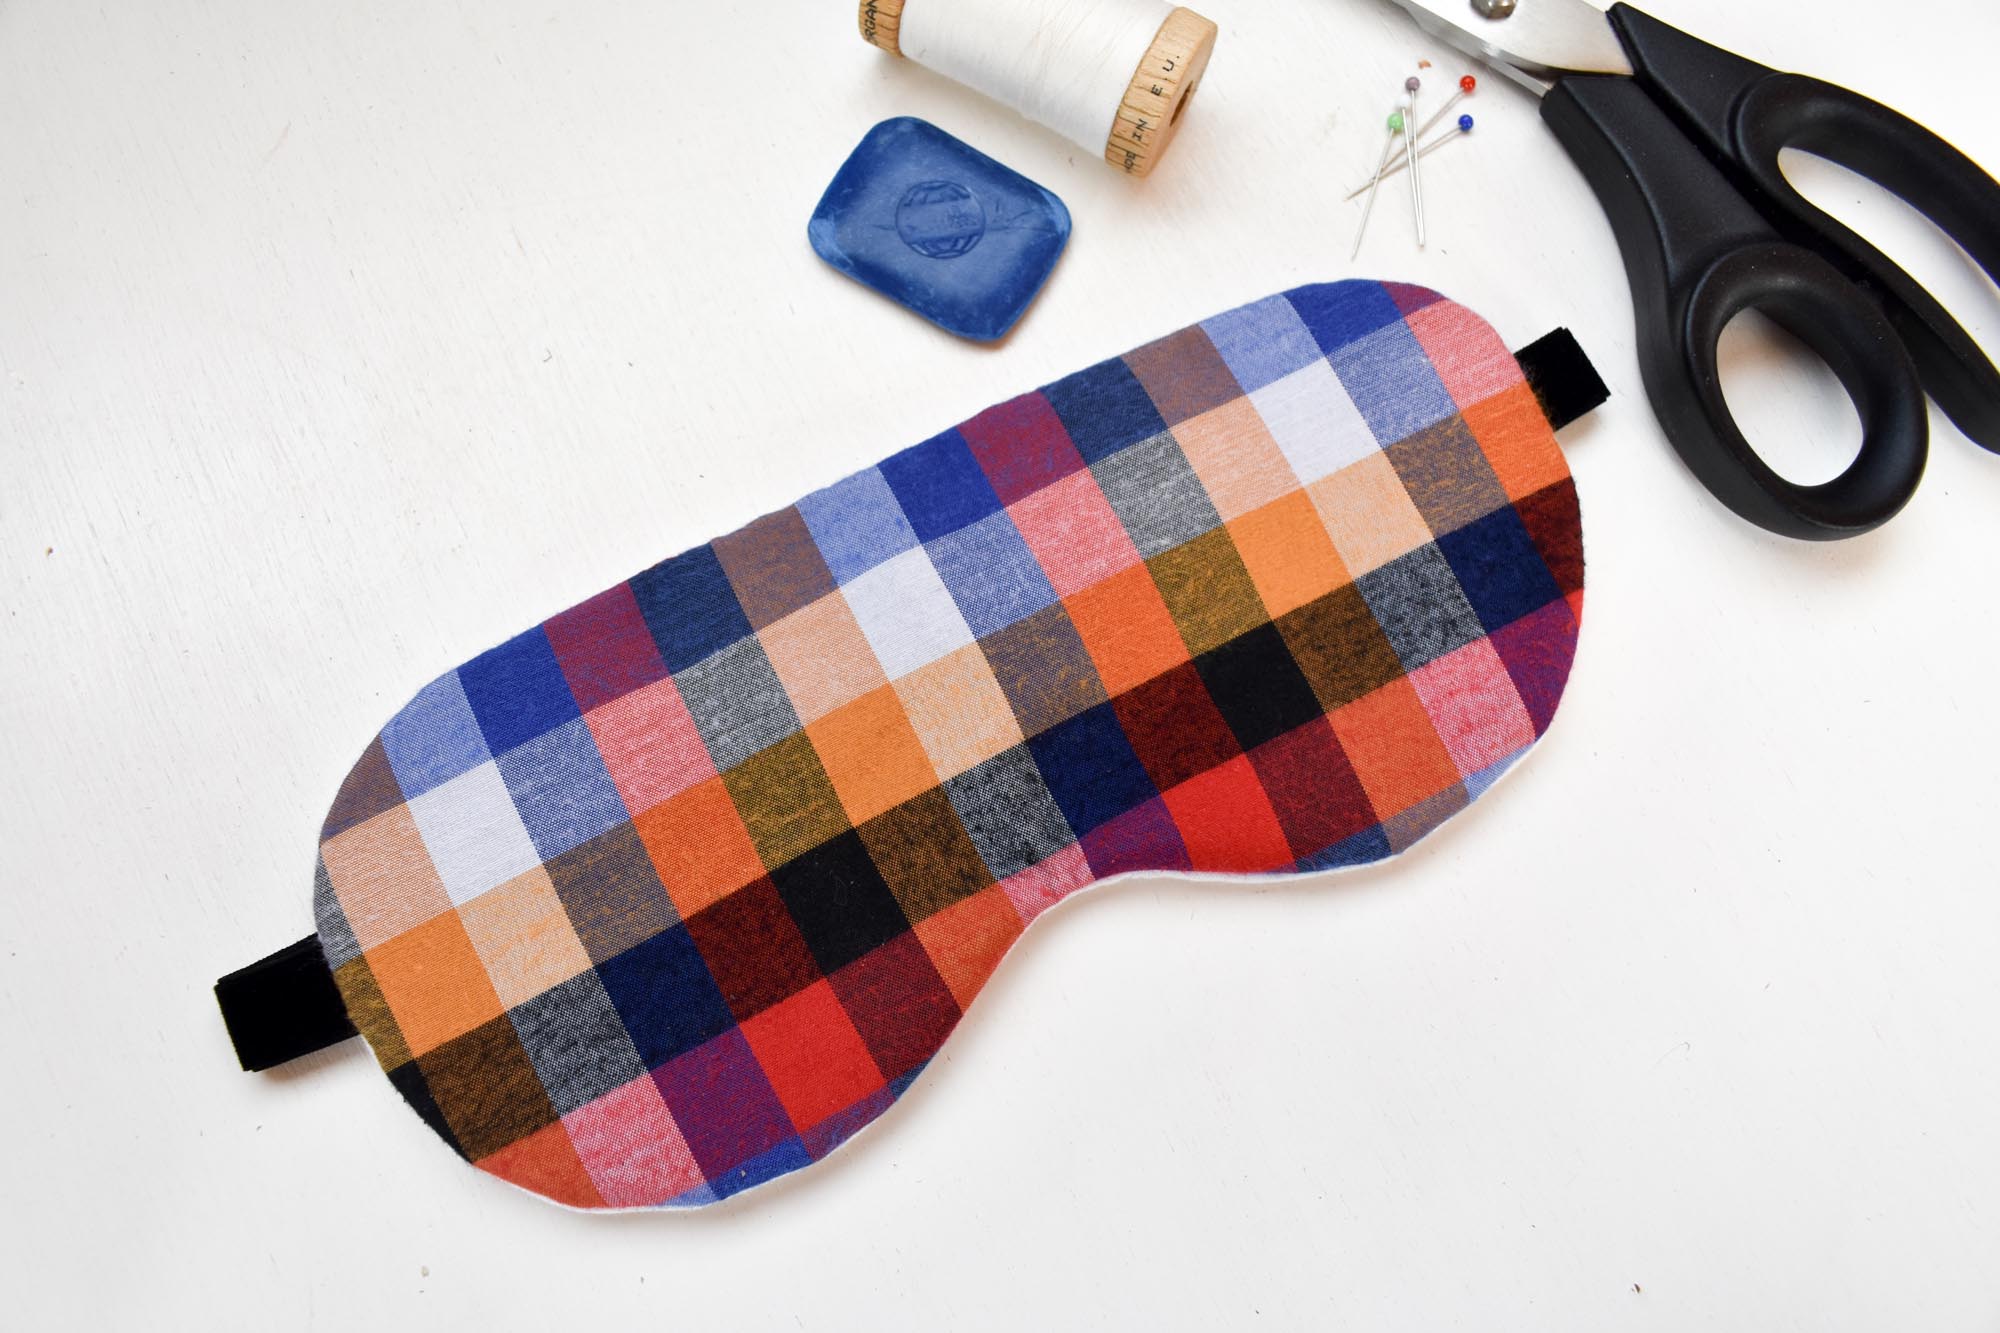
Sew a Quick and Easy Sleep Mask: Tutorial and Free Pattern
A quick and easy free sewing project that is perfect for beginners and sewers of all levels!
(Pssst! Scroll down to the equipment list for your free pattern!)
In this tutorial I will show you how to sew a black-out sleep mask. A black-out sleep mask has been a life changer for me! I never thought I could sleep with something over my eyes but oh how I was wrong! My sleep quality has improved no end, I wake up less times in the night and I can fall asleep easier, as the lights in the room don’t disturb me anymore. I tend to go to sleep before my partner, so he always wants the lights on and I want them off. We don’t have this argument anymore now I use my sleep mask! 😀 Yay its great!
What you need to make your sleep mask
Equipment List –
- Sewing Machine (only straight stitch is needed)
- Cutting board, pattern weights and rotary cutter / Fabric Scissors and pins
- Fabric scissors
- Paper scissors
- Tailors chalk/marking pen
- Pins
- Notcher (optional)
- Needle and thread
- Last but not least the Sleep Mask pattern. Free to download below
Materials List –
- Front/Outer material, woven Cotton or Cotton jersey suggested 30cm-25cm
- Wadding, Cotton or bamboo is a good breathable option 30cm-25cm
- Black woven cotton fabric for black out layer 30cm-25cm
- Cotton Jersey for liner (the side against the skin) 30cm-25cm
- Thread to match your chosen fabric colour
- Elastic for strap 31cm (depending on head size and stretch percentage)
Great now you’ve got all your tools and materials for the project, lets get started!
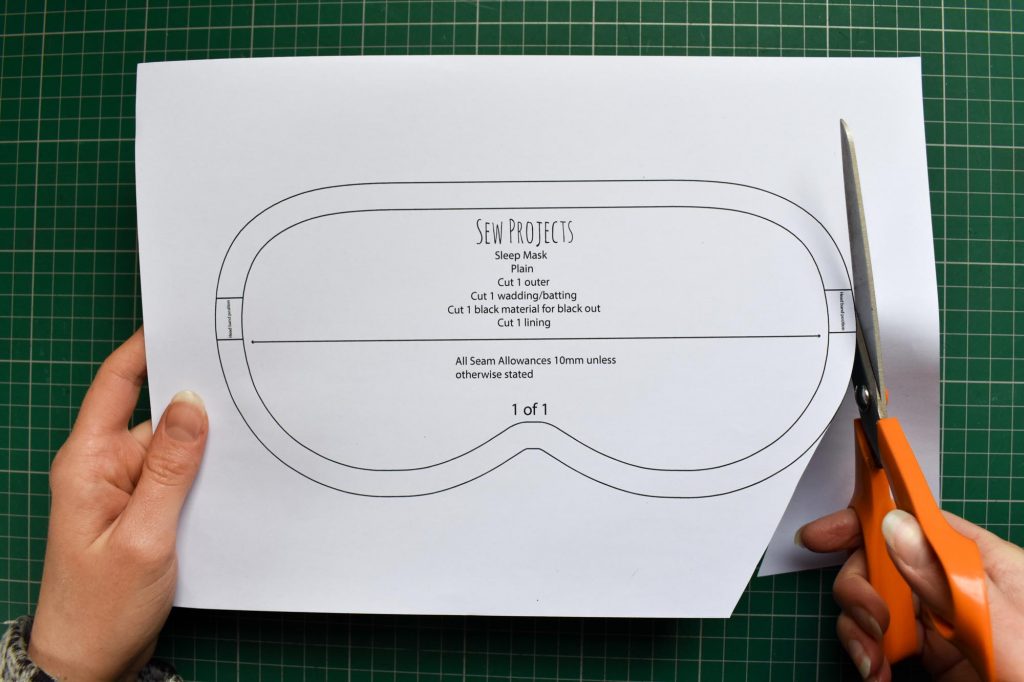
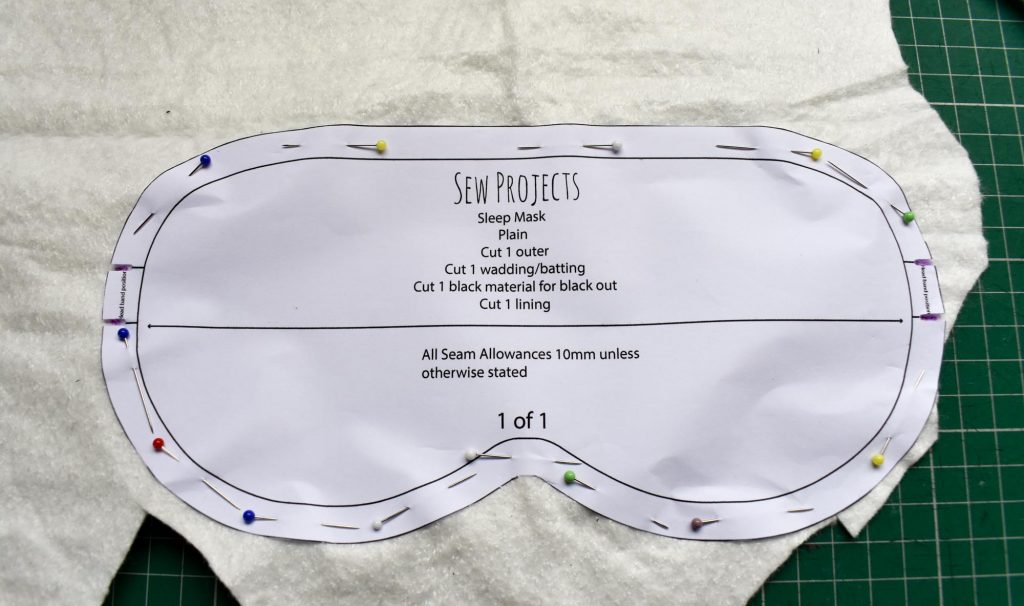
Firstly, cut out the Sleep Mask pattern along the outer edge.

Use a Notcher or if you do not have one, just use scissors to cut out a little indent at the notches where the straps attach.
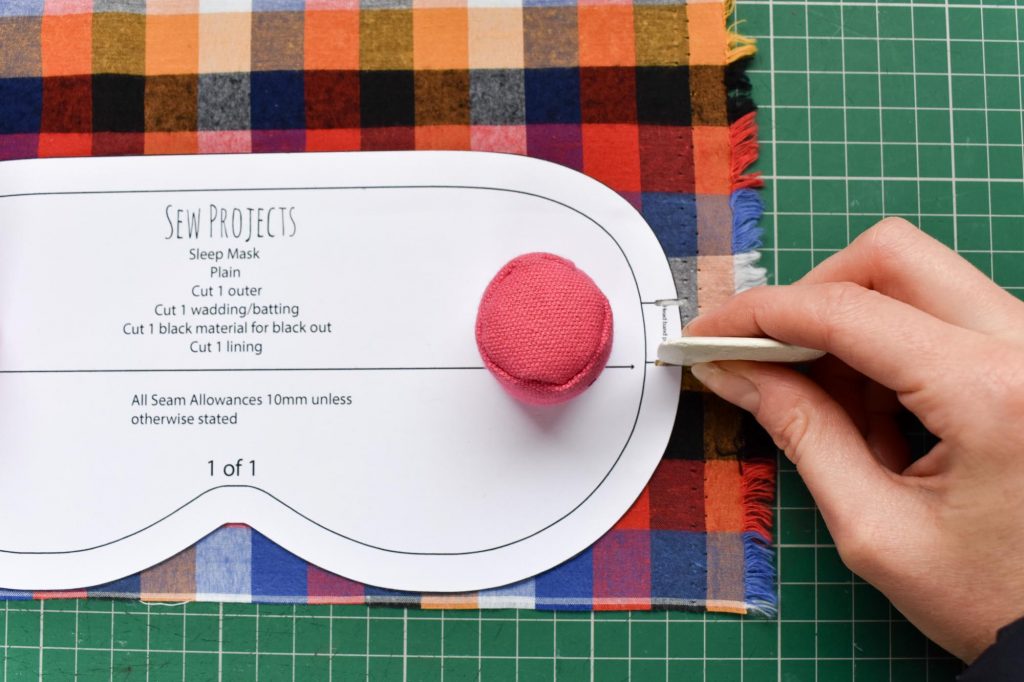
Then place your pattern on your fabric. If you are using a woven cotton, the pattern can be placed along the grainline or perpendicular to it. If you are using a cotton jersey, have the most stretch going the same way the arrow is going. Use your pattern weights to secure or pins. Once your pattern is in place, mark the notches on the fabric with tailors chalk/marking pen.
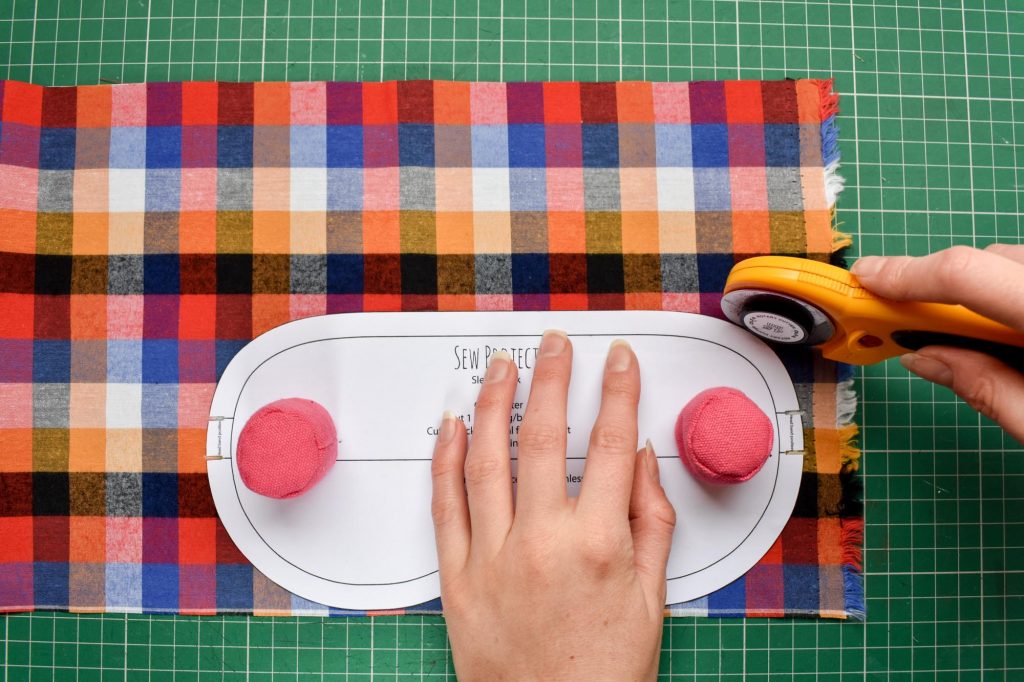
Cut out the pattern either using your fabric scissors or rotary cutter. Use this same method for the black-out fabric and lining.
For the wadding it is best to pin your pattern on and cut out with scissors, as this can be tricky to get through with a rotary cutter and usually blunts the blade quicker.
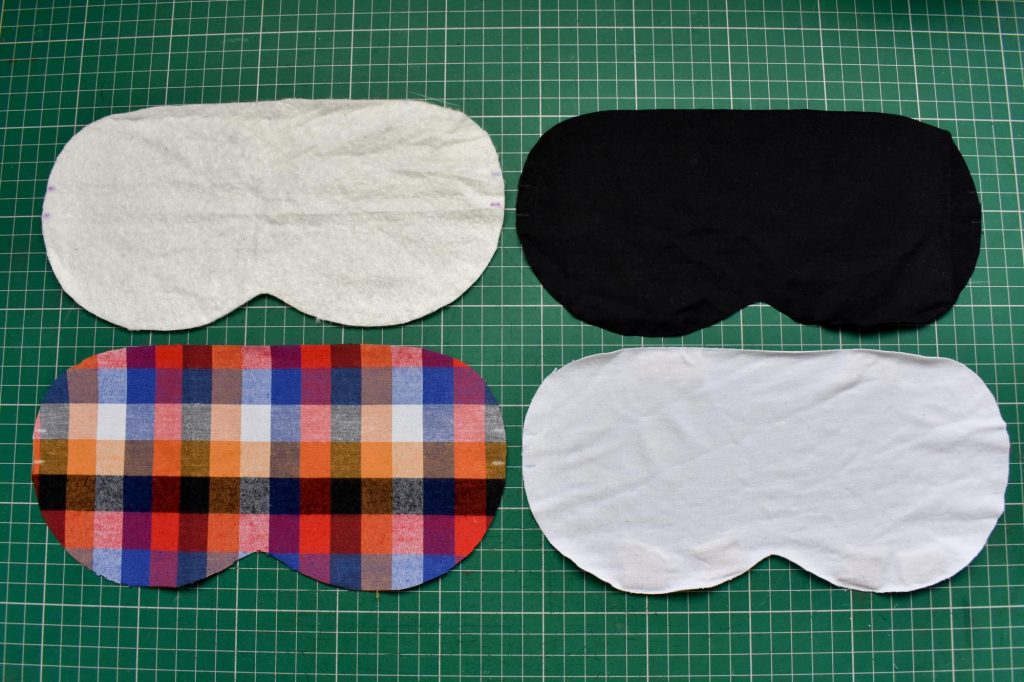
Great, so now you have all four layers cut out and ready to go!

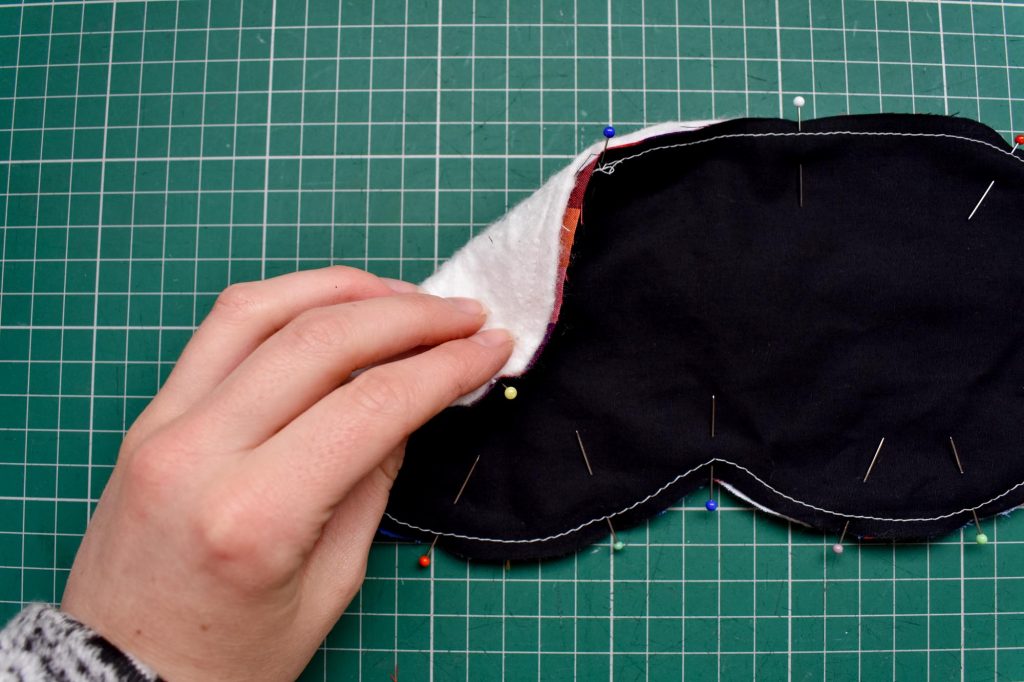
Pin the outer and black out fabric together and the liner and wadding layer together.
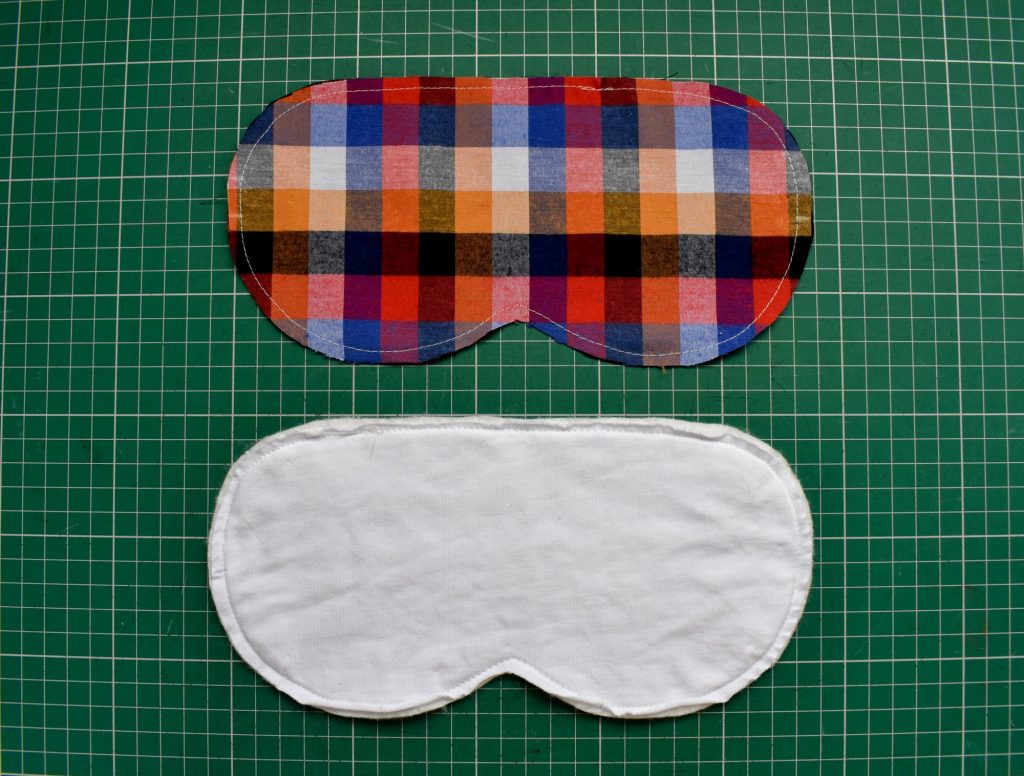
Use a basting stitch/long straight stitch to baste the layers together. Stitch 5mm in from the edge.
Top Tip –
If you are struggling with the cotton jersey stretching, place this side down on the sewing machine so you the wadding layer is upright. The wadding has more stability and will reduce the stretching of the cotton on the underside.
Attaching the Strap
If you want to do add a jersey covered strap to make your elastic extra soft then watch the video tutorial below. Skip the video if you just want to ad a plain strap.
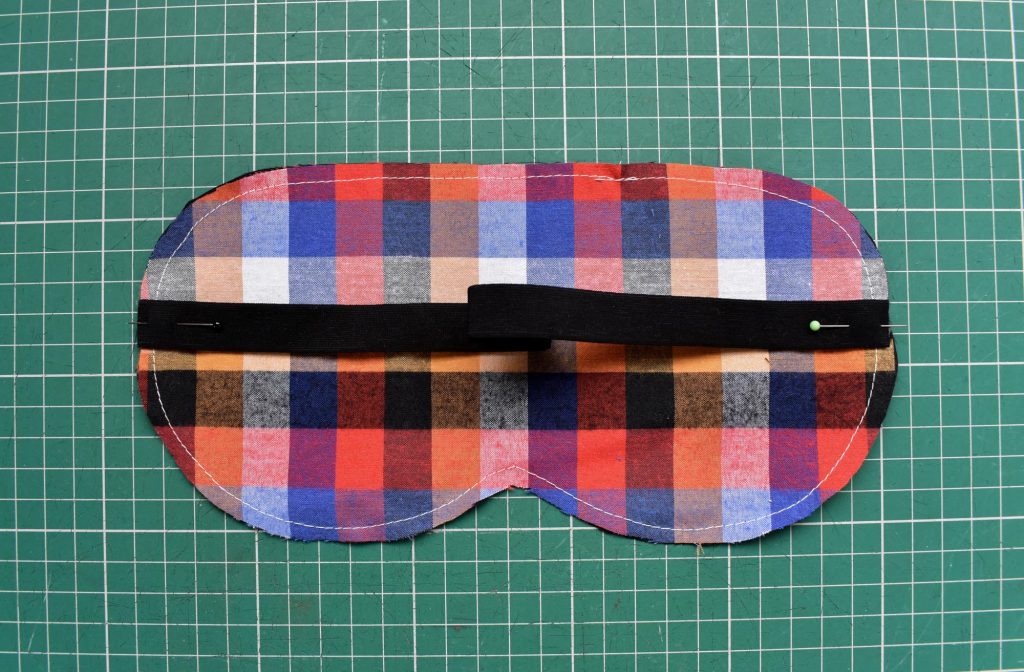
Determine the length you want the elastic strap to be. The elastic strap here is cut to 30.5cm including seam allowance. It has a 50% stretch, so fits a head size measurement of 53.5cm-56.5cm. Pin the right sides down to the right side of the outer fabric layer, at both sides where the strap notches are.

Stitch the straps down 8-9mm in from the edge.
Now pin all layers together. Place the outer (front) layer to the lining fabric and pin all around the edge at the seam allowance.
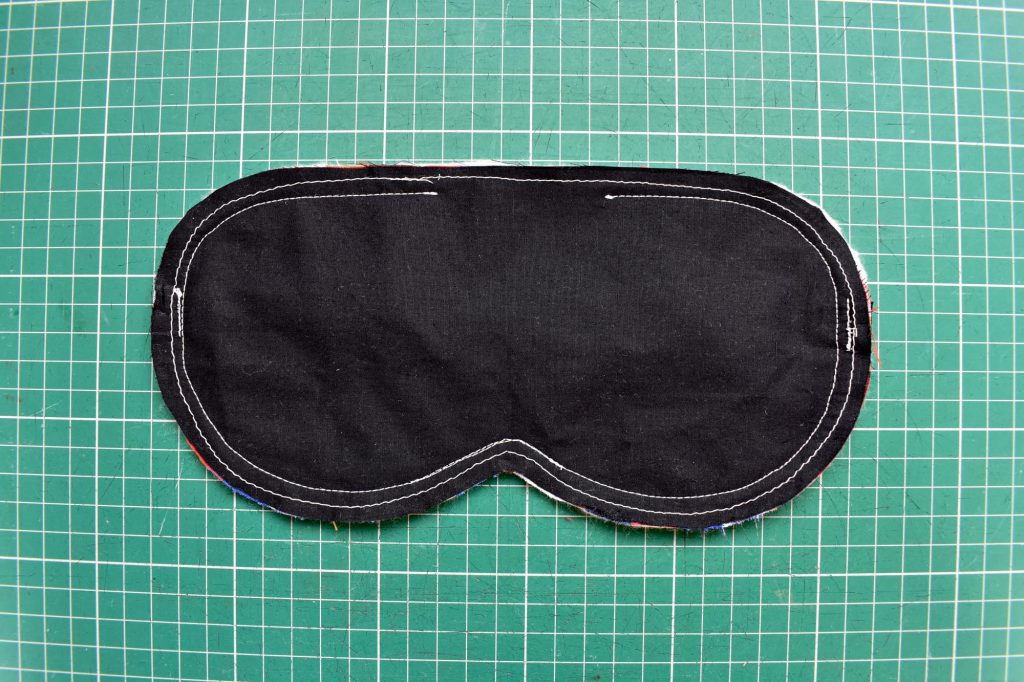
Sew all four layers together with a 1cm seam allowance. Leave a 2 inch gap at the centre top, so you can turn the fabric through. Reinforce the centre bottom edge, where your nose goes, with a second line of stitches.

Snip away about 5mm of the extra bulk of the seam allowance all the way around the edge.
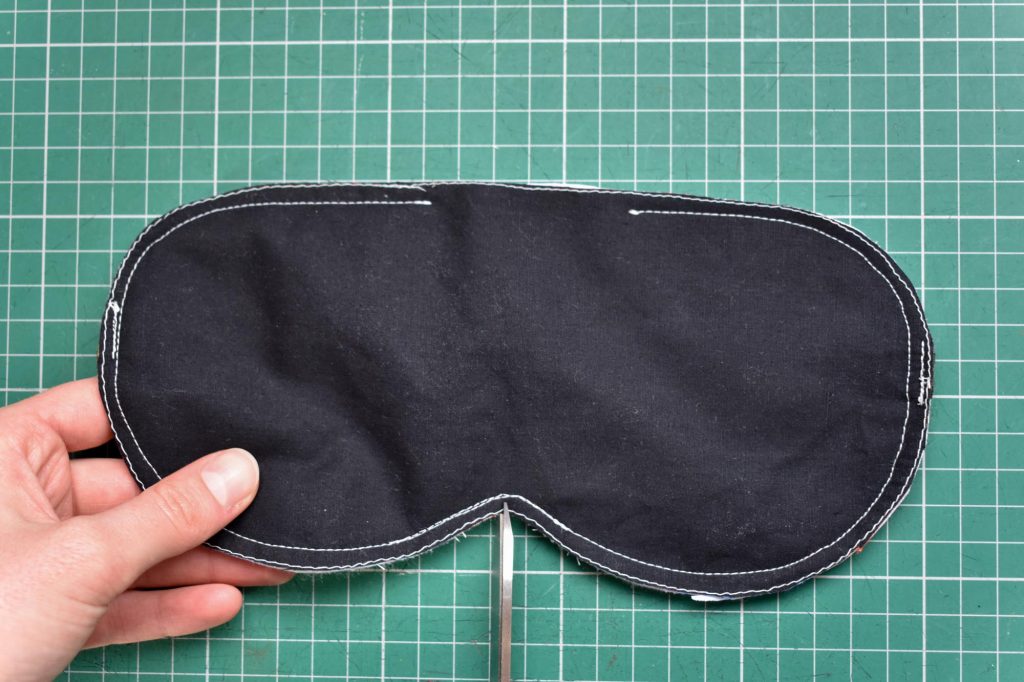
Snip several cuts into the seam allowance at the centre bottom edge, so the fabric doesn’t pull when turned out the right way. Make sure you don’t cut the threads!
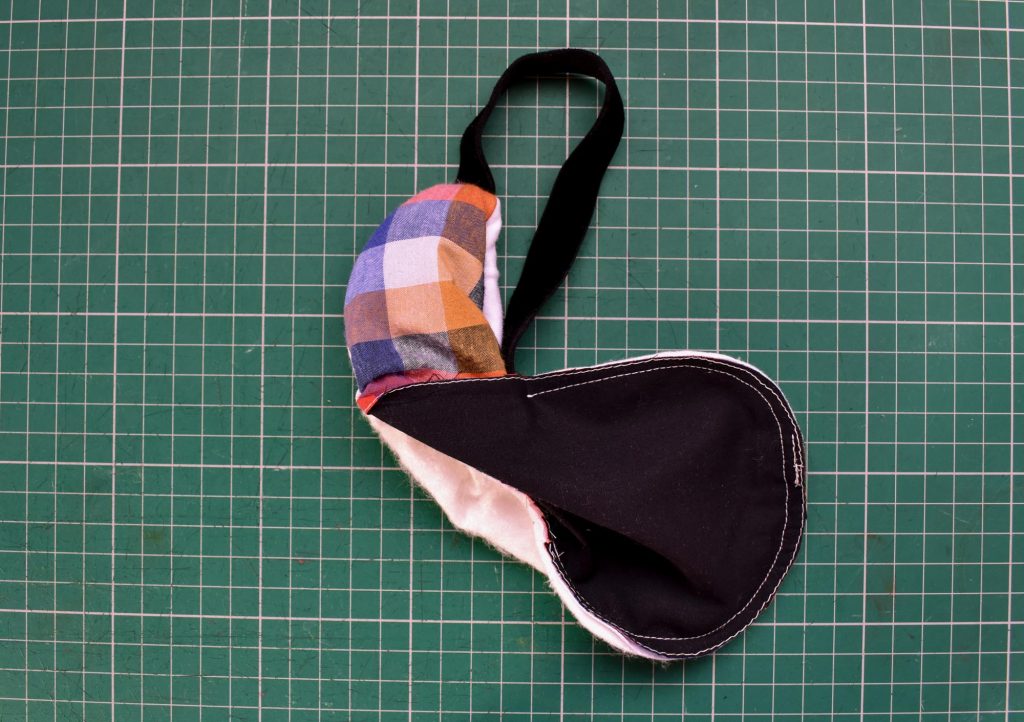
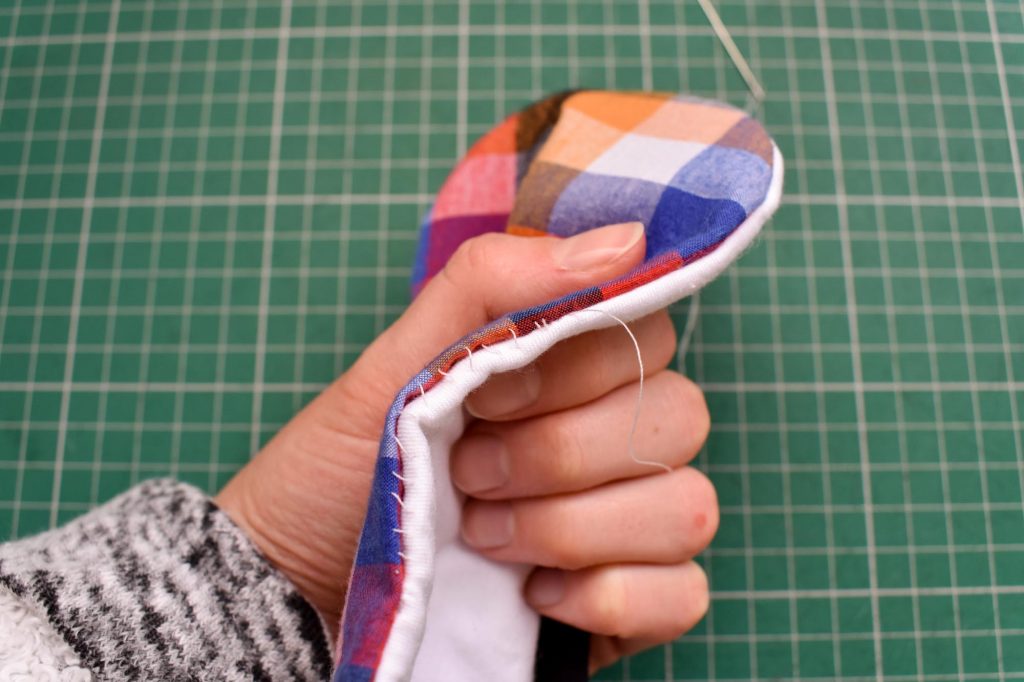
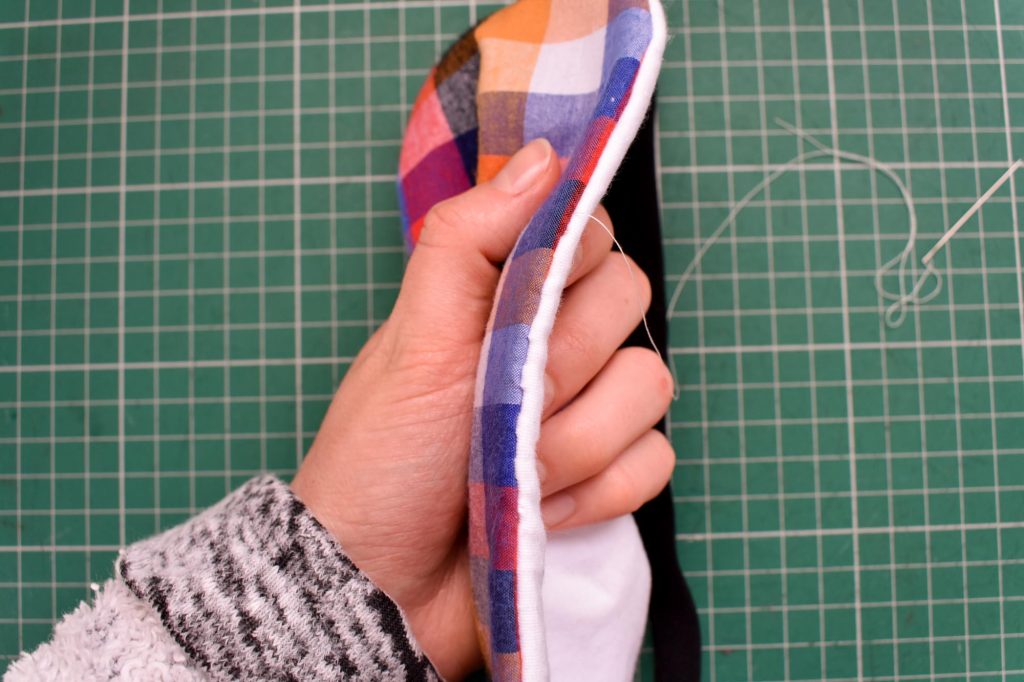
Put your fingers through the opening and pull the sleep mask through the right way. If you pull the strap through first, this makes it easier.

Use your finger to smooth out all the seam allowances inside so your mask is looking super neat!
Now get your needle and thread out and hand stitch the top opening. Use an invisible stitch/ladder stitch to do this as it works a treat!
How to sew an invisible stitch
- Put a knot in the end of your thread
- Put your threaded needle in the opening and then come up at the stitch line on the one side of the fabric
- Take your needle directly across to the other side of the fabric and go through the stitch line, then go 3-4mm along inside the seam allowance opening then come up on that same side, so the only stitch you see are the horizontal stitches going across the opening.
- Continue with this method till you get to the end
Once you reach the end, pull all your stitches, and the opening will close up really neatly. Finish off the stitch by making a very small stitch several times in the same place.
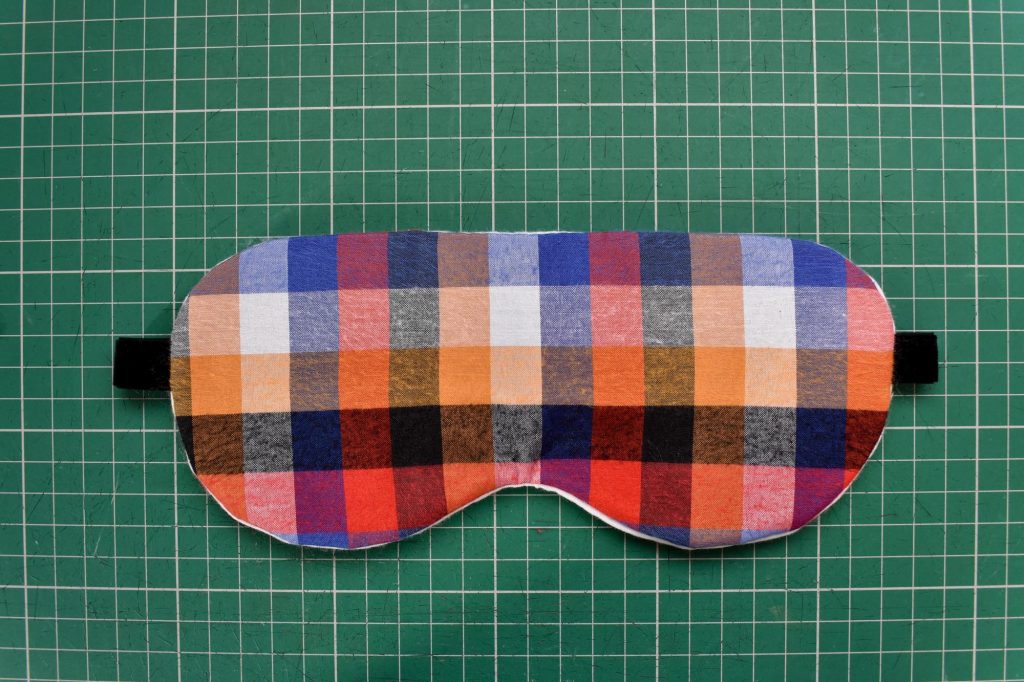
And there you have it! One gorgeous, comfy black-out sleep mask, ready to wear!
I hope you enjoyed this tutorial and get enjoy your sound nights sleep! Zzz.
Let me know what you thought in the comments below!


Comments (1)
Seyi Osagie
March 26, 2023 at 12:21 am
Thank you for this great tutorial, I was able to make a sleep mask out of lace and satin fabrics.
Thank you 🙏🏽
Comments are closed