A comprehensive guide on how to dye fabrics, trims and laces for lingerie making
In this guide we’ll cover everything from the equipment you need, my 9 step method, as well as my very best top tips (from my experience of 7 years of dyeing lingerie materials) for getting an even dye and more!
So why dye your own trims?
Unlike making outerwear, underwear will usually require a lot more different components and trims as well as fabric, especially when making bras. You’ll need trims such as under band elastic, neckline and underarm elastic, strap elastic and a bra fastener just to name a few! One of the hardest things to source is all those components in the same colour AND that matches your fabric and lace.
You could easily find black, white and maybe ivory but other colours can be super tricky to find in the right tone to match everything else.
This has been one of the problems I have found the hardest when making my own lingerie. I have this design in mind and I’m dead set on a particular shade of colour, I’ll be lucky to find what I have envisaged in one component let alone all of them I need to make my whole underwear set.
So there’s a few options, you could buy a sewing kit with everything matching, this literally takes out all of the hard work and time finding the matching components; OR you could dye your own!
Before I started dyeing underwear and bra trims, I thought it was just for natural fibres so it never even crossed my mind I could dye my own elastics, laces and fasteners!
I first started dyeing my own nylon based components when I was studying my Contour Fashion degree. I couldn’t believe it was so easy, after all the years I had been struggling to get these particular colours I envisaged. (And it wasn’t till my third year if I remember rightly.)
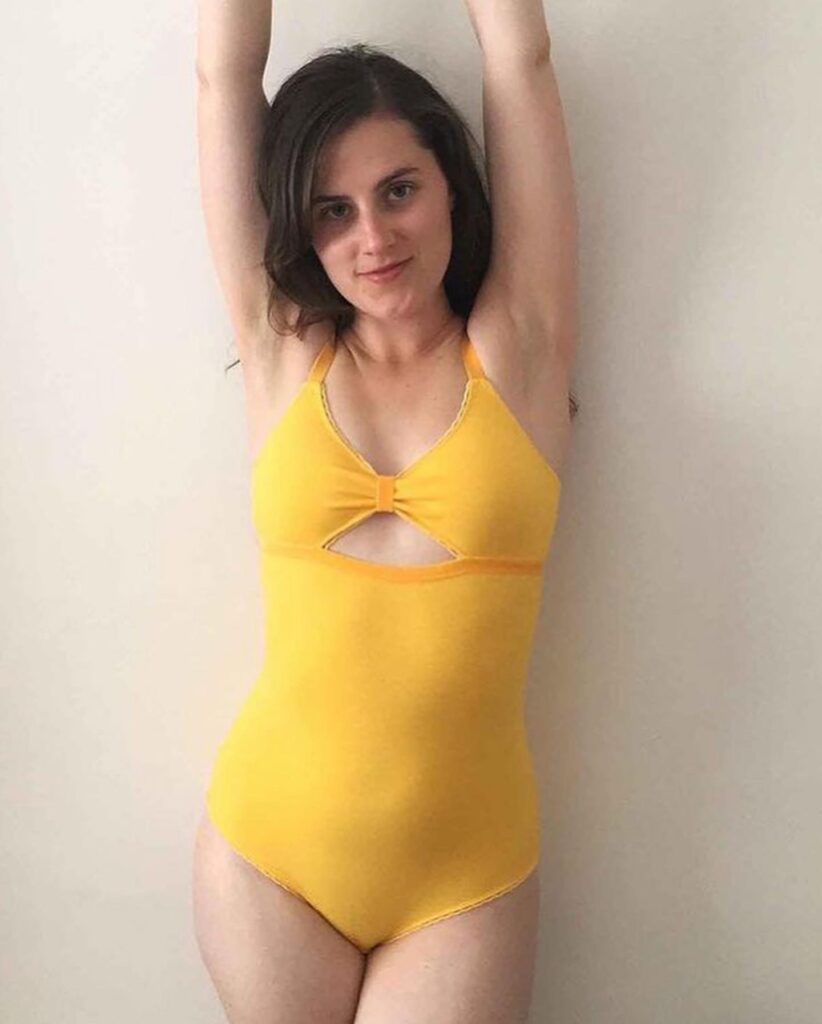
One of the first garments I dyed was the orange bodysuit photographed below. It included the stretch mesh, elastics and a peach skin stretch fabric.
My first creation using acid dyes
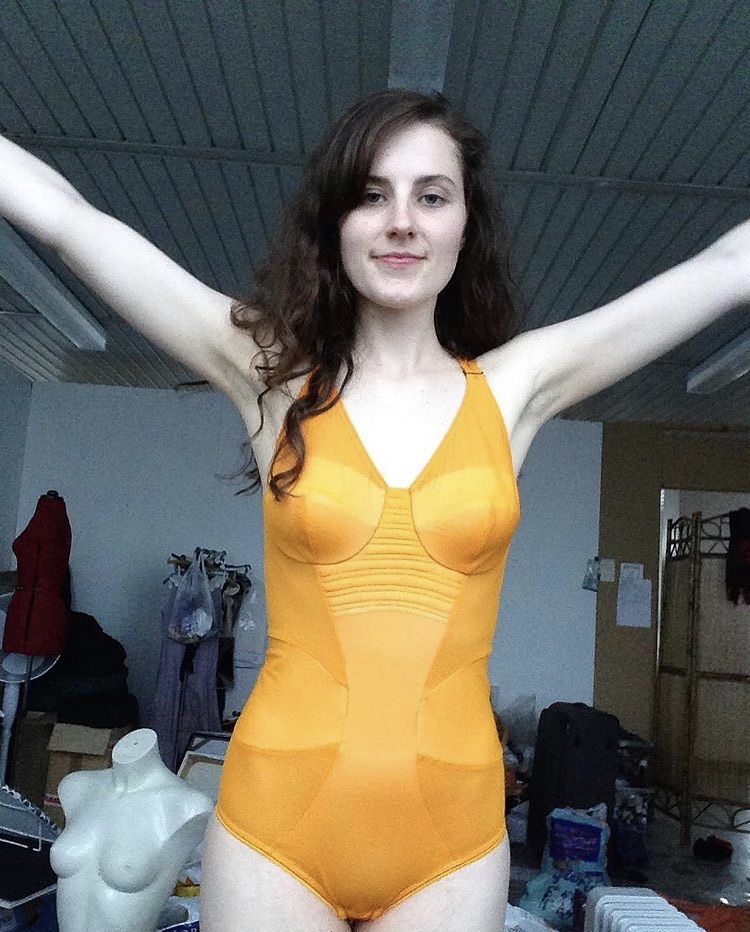
I knew after this I could use this a great way to get the perfect colours I envisaged for my projects.
I have been dyeing underwear making fabrics and components for over 7 years now I’ve learnt some excellent methods to get a great dye result. (I don’t even weigh anything now!)
If you’ve ever been frustrated in not being able to find matching trims and notions for your lingerie garments then read on and learn how to effectively dye your own trims for making your own underwear!
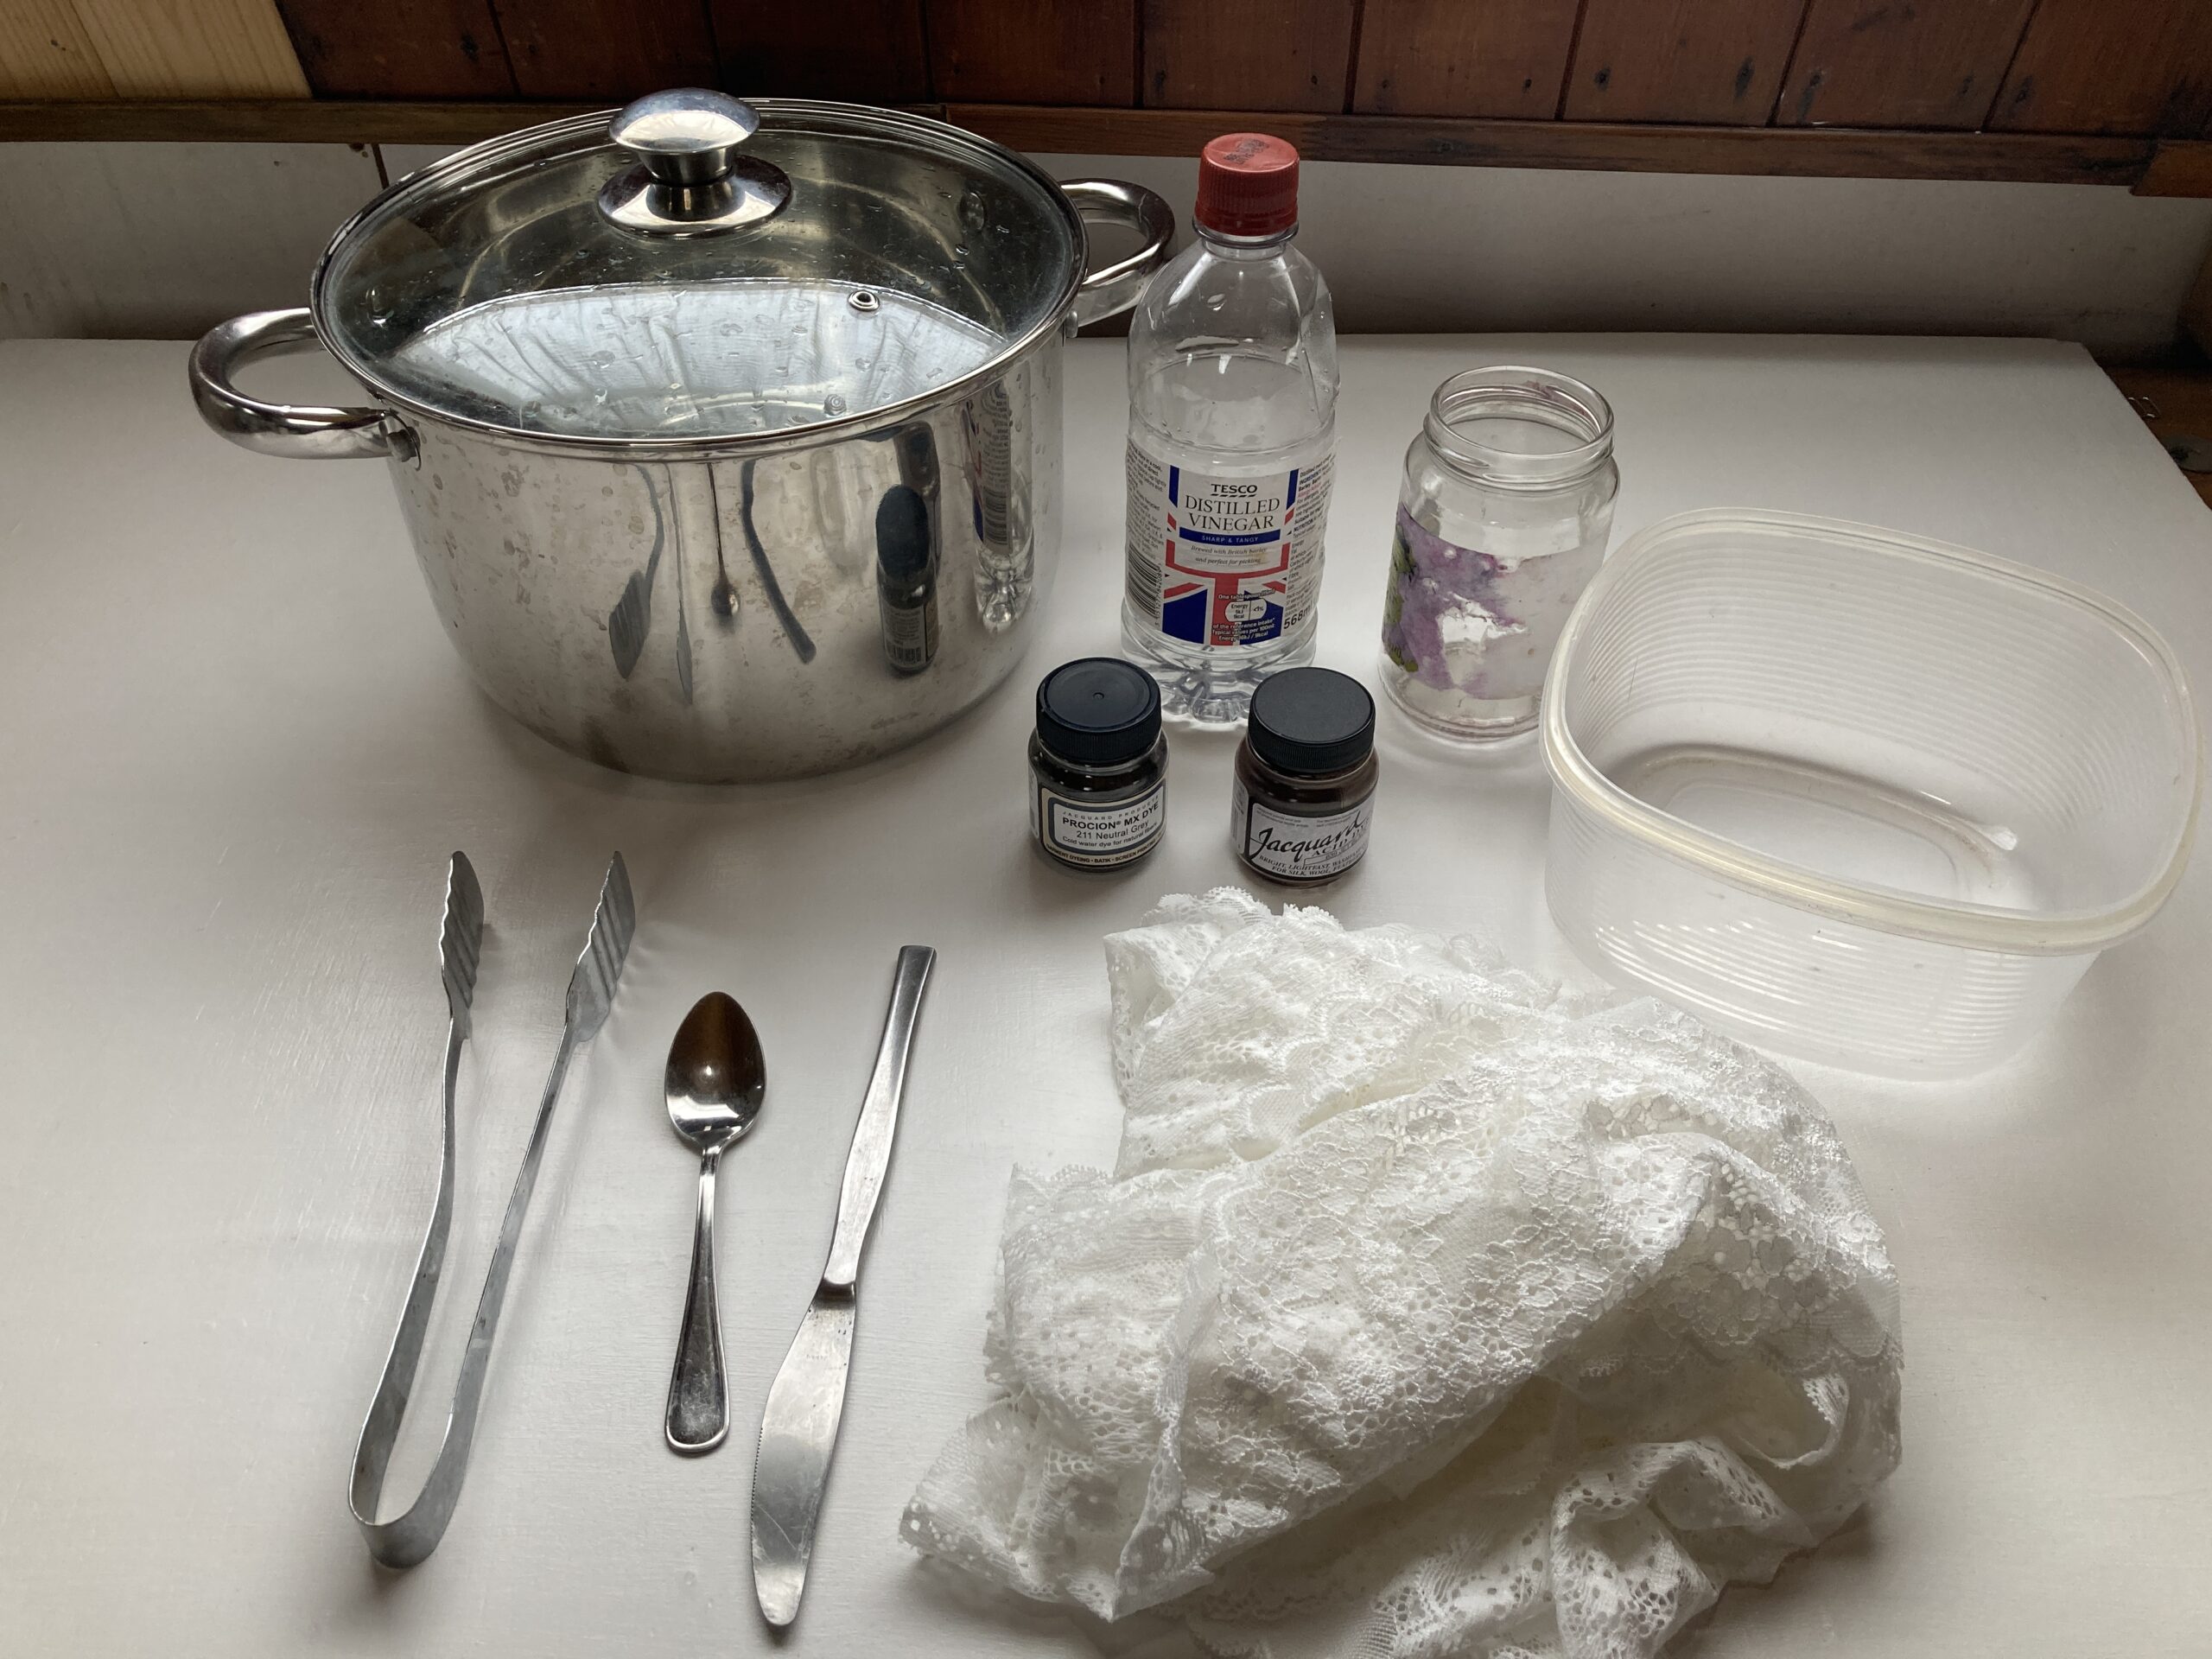
Equipment
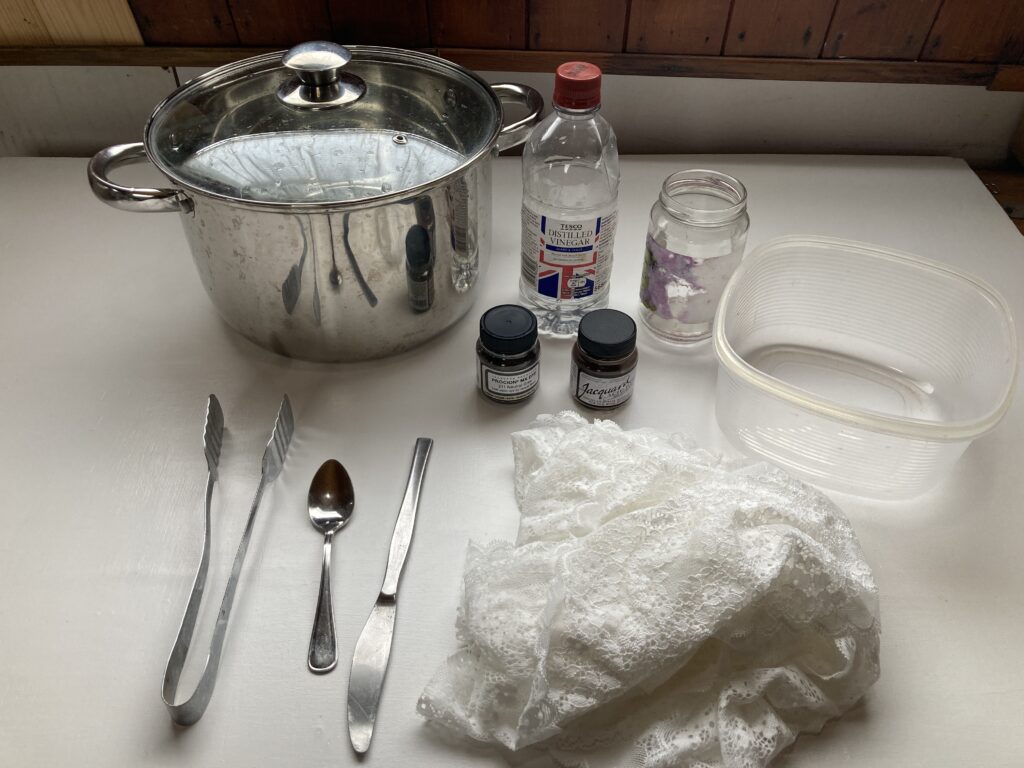
To use the acid dyeing technique you will need
- A stainless Steel Pan (used only for dyeing and not food.) It needs to be big enough for the trims/fabrics can move around. 3L is fine for elastics but you will need a bigger pan for laces.
- Acid or Procion dye, I recommend Jacquard dyes. Acid dye is the most common dye for dyeing nylon based trims which a lot of elastics and laces are made from but you can also use Procion dye too (even though it says it’s not for Nylon!) If I can’t find the shade I need in the acid dye, I’ll use the Procion instead. It can take a bit slower and you may need more dye with vinegar but it still works!
You can get started using an acid dye set like this – Jacquard Acid Dye Set (*Affiliate link)
- Vinegar. It is not always necessary I’ve found but it decreases the PH so that the dye molecules attract to the nylon fibres more.
- Old jar is for mixing the dye solution
- Tub is for pre soaking the trims/laces
- Tongs make it easier to put the trims into and out of the dye bath
- Teaspoon for handling the dye powder.
- A stirrer as you’ll need to stir it lots. (I use the blunt end of a knife.)
- And of course the trims you want to dye! (Remember only nylon based trims will work with this method, so definitely do a sample first before you dye the whole length.)
This is a hot dye method so you will need to heat the water whilst dyeing.
Other extras –
Scales to weigh the dye
Gloves for protection
All the advice on how to dye is my personal experience of over 6 years of dyeing trims for underwear and learning what works and what doesn’t. I’m certainly not a dye expert so please do your own testing and sampling.
Method
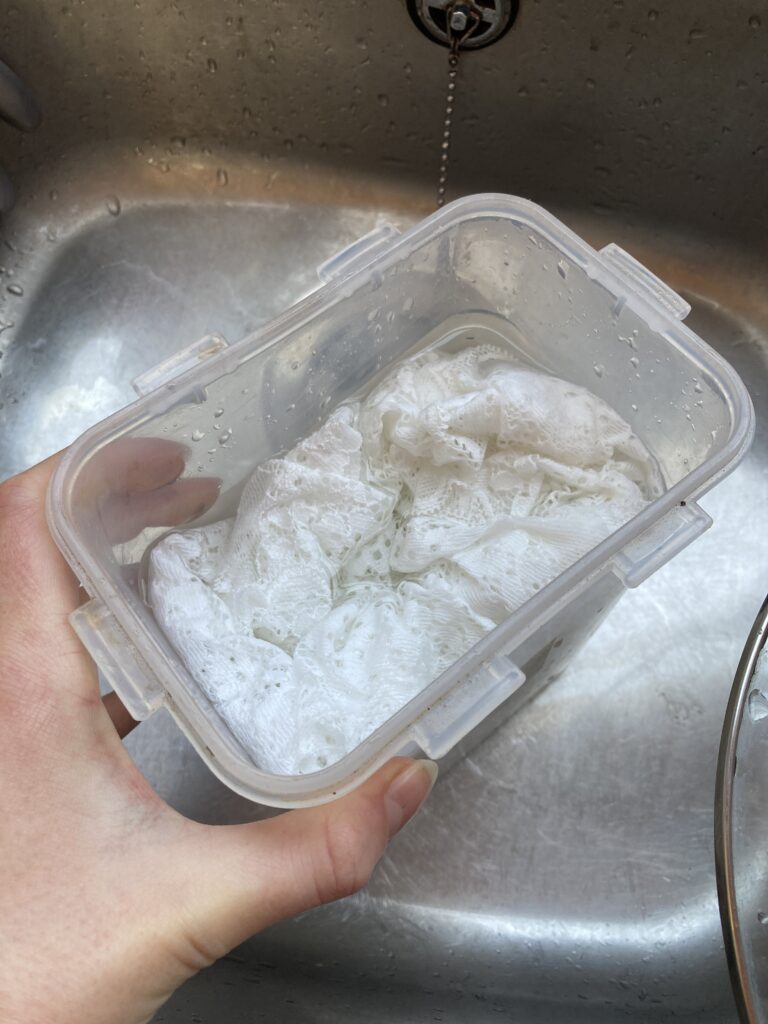
- Soak the material you want to dye in the plastic tub with water.
2. Then fill the stainless steel pan up with water. The amount of water you need depends on how much material you are dyeing. I use a 5L pan for laces with the pan at least three quarter filled or find trims you could use a 3L pan with it half full. Just make sure there’s enough space for it to move around freely.
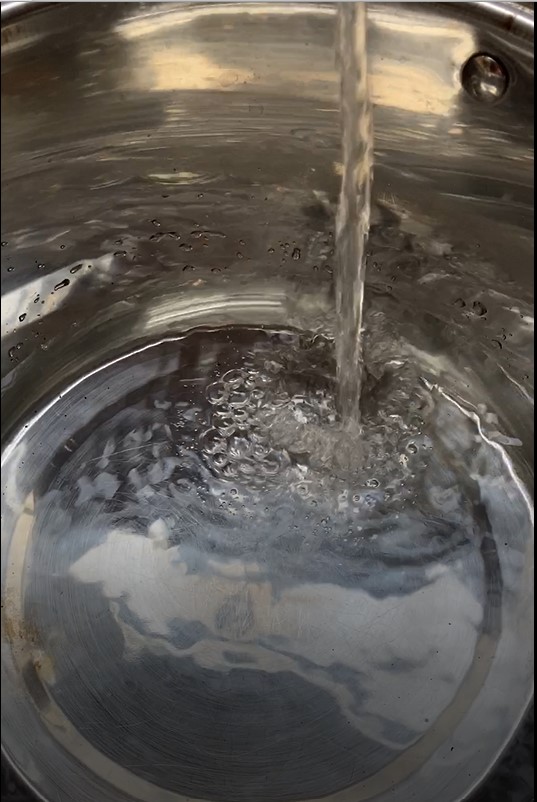
3. Put the water on the hob to heat.
4. Meanwhile, add the dye powder to the ‘old jar’.
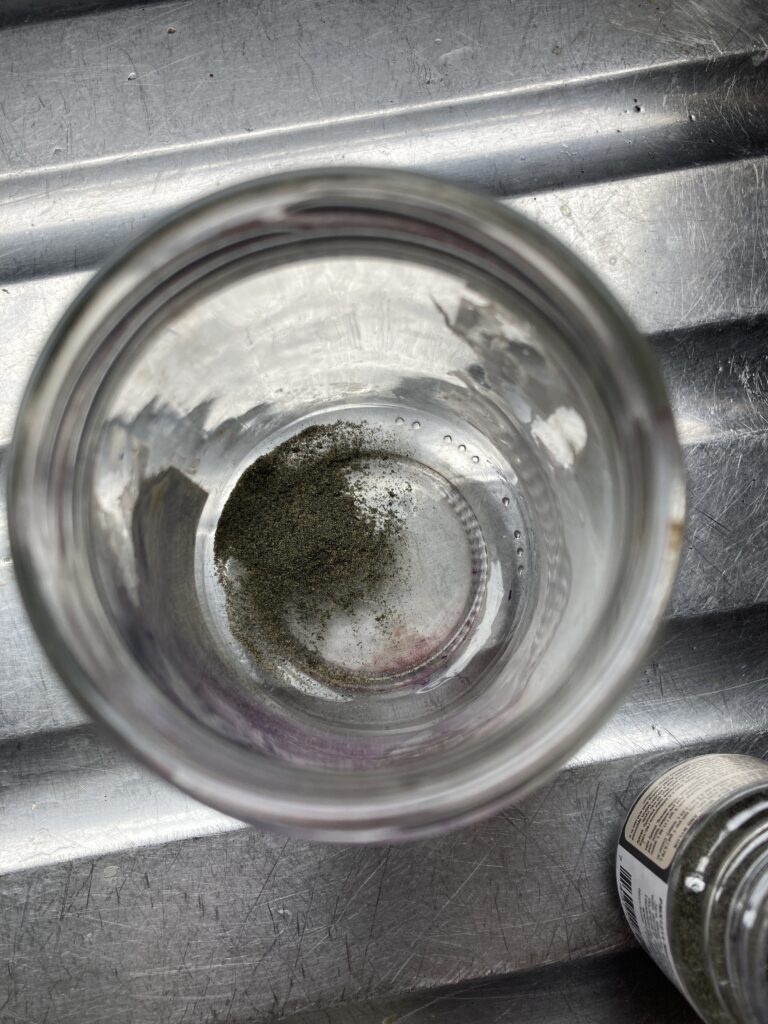
5. Add a small amount of hot water to the dye powder and then agitate till the dye is dissolved.
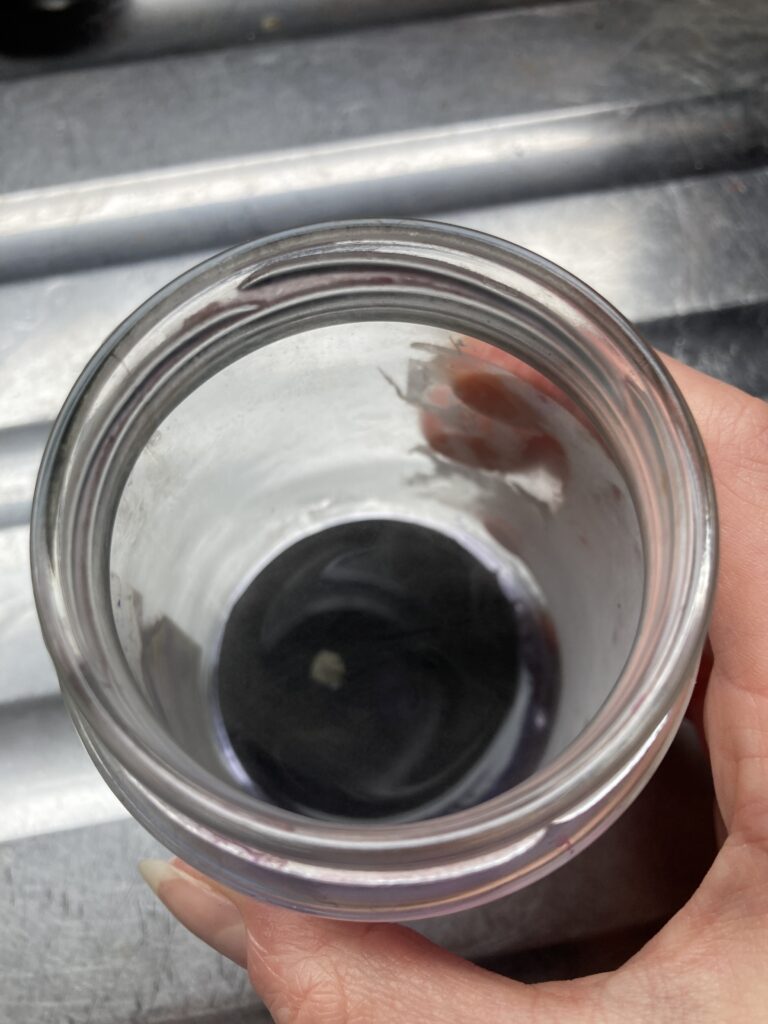
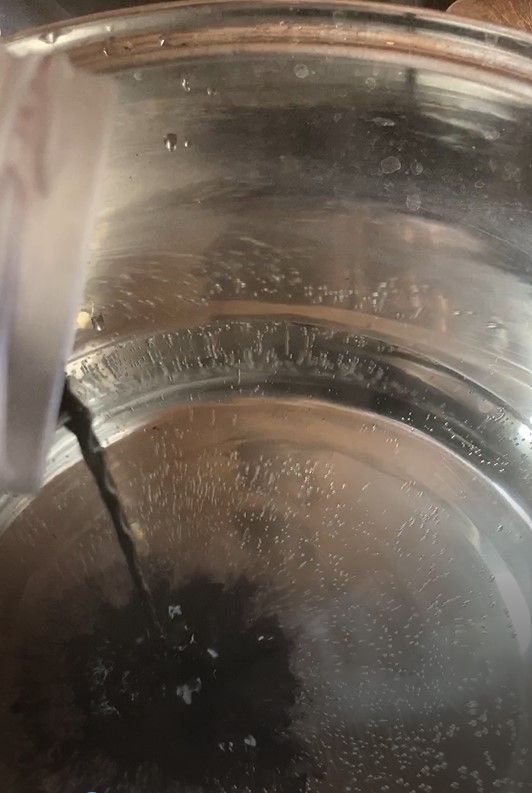
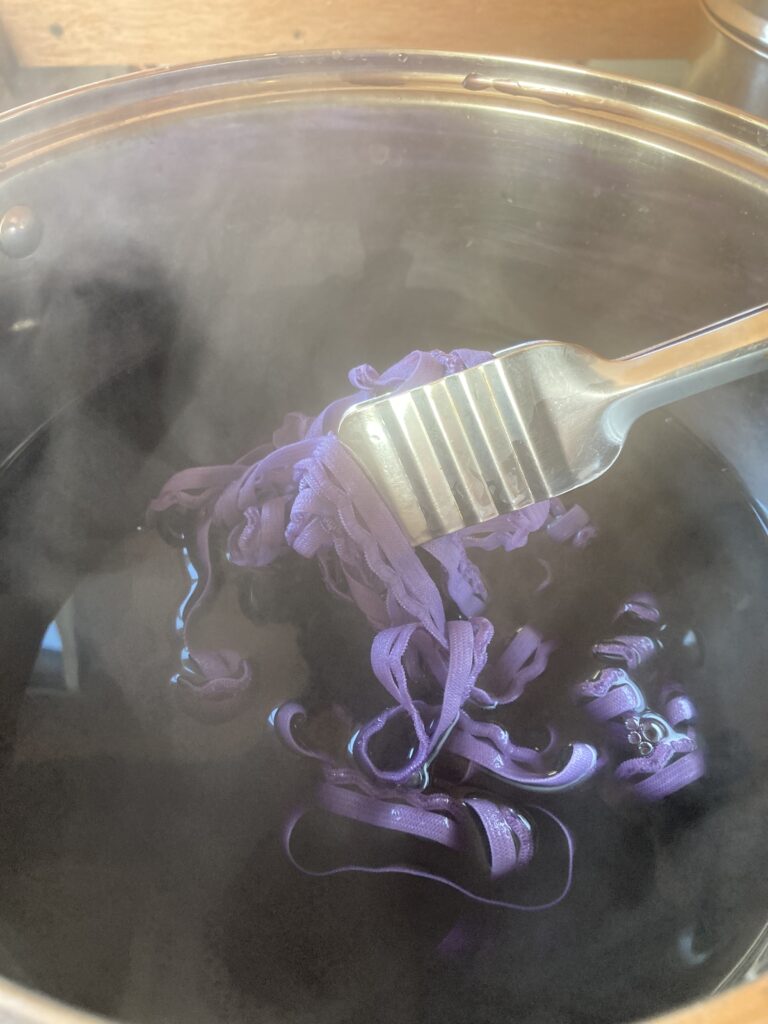
6. When the water in the pan starts to steam add the dye solution to it. Then leave it a few minutes to settle. You can give it a stir.
7. Add the soaked material to the dye bath and stir well. Sometimes colours can dye very quickly, others take longer. I always try to put less in than more, as you can always add more dye to the bath as it dyes but I can’t take it out! Leave the material for 5-10 mins to soak up the dye, remember to keep stirring though. (It doesn’t have to be constant but the more the better.) Then, after this access the colour, and then at this stage add the vinegar. You only need a small amount and sometimes it’s not even needed. I tend to use it more on darker colours than lighter colours.
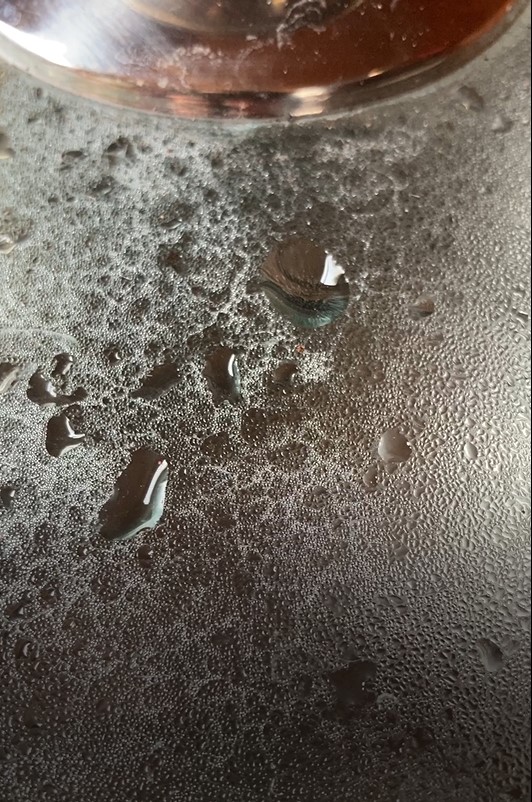
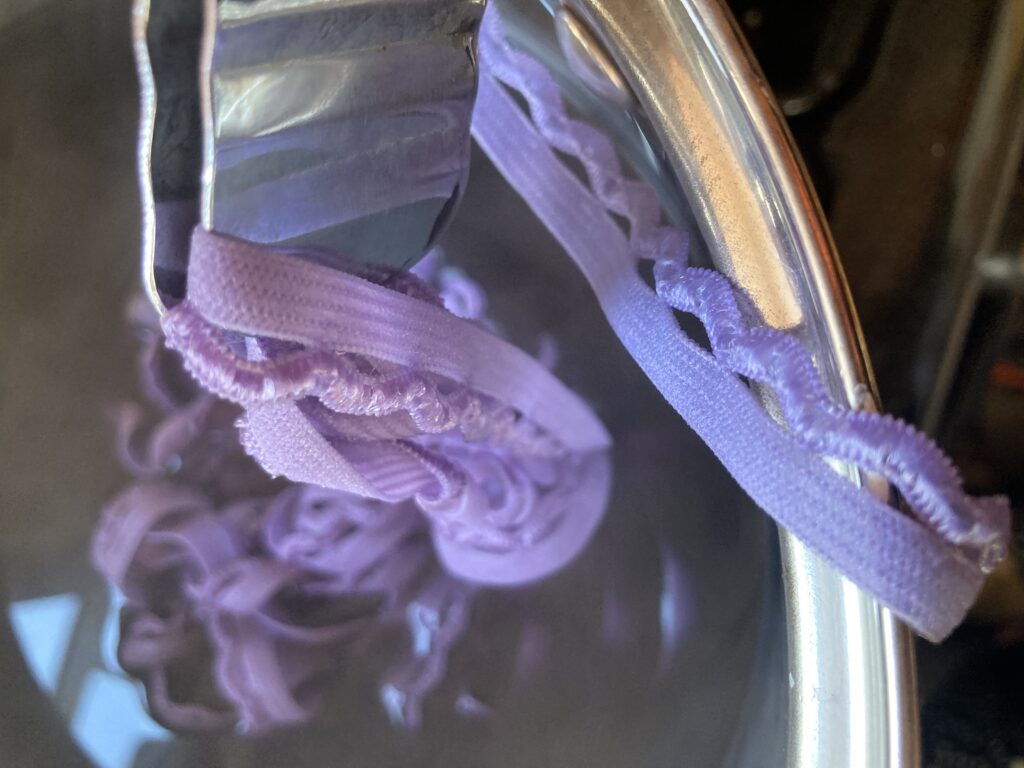
Top tip! If you are matching to a previous sample, wet the sample and then compare the colour in the dye bath to it. The reason why it needs to be wet is because when dried it is lighter, this will then give you a very accurate colour copy.
The photo below shows the wet sample on the side of the pan next to the one in the dye bath. From this I knew that it needed longer in the dye bath.
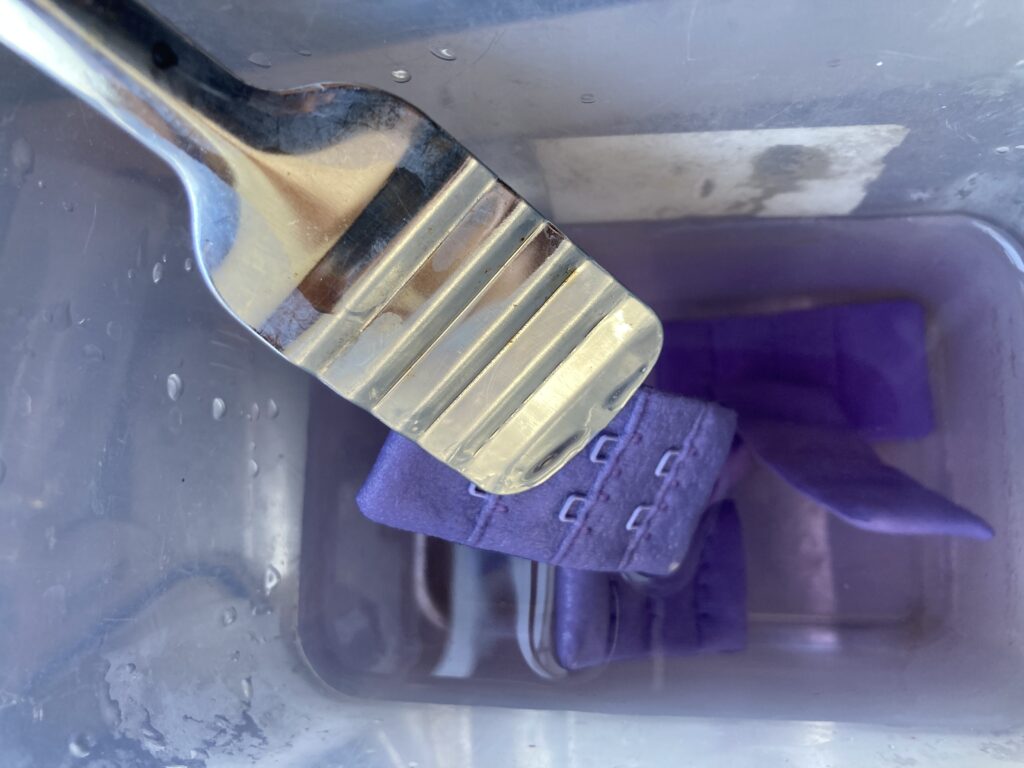
8. After you think the material is done, put the material into the tub with cold water in that it was originally in. Sometimes the dye is only surface dye and when washed will show that it needs to be dyed more. This is a good way of checking before you throw the dye bath away.
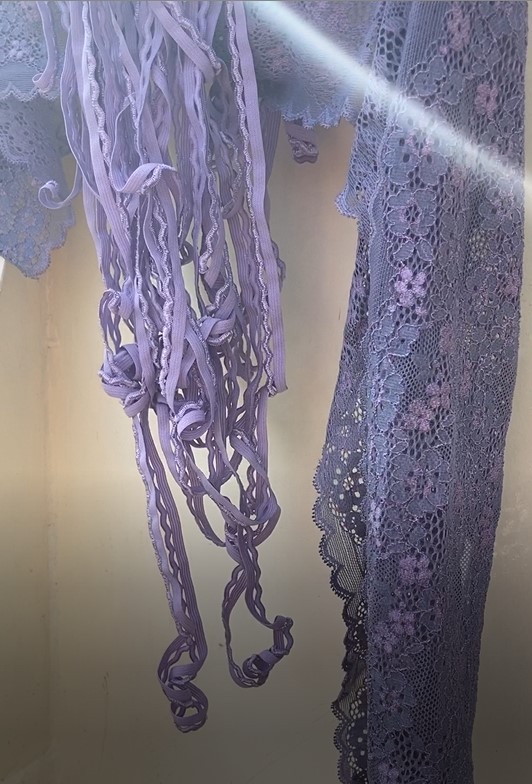
9. When your happy with your colour after it’s been in the pre soak bath, give the material a rinse through until the water runs clear and then leave the material to air dry.
My Top Tips for an even dye
Pan size – use a big enough pan for the material to move around freely.
Dye steps – Put the dye in the pan first, then material, then vinegar! If you put the vinegar in first the dye will quickly attract to the fibres which could result in a patchy dye. Sometimes vinegar isn’t always needed either.
Colour match – If you want to create the same colour you already dyed from a previous dye test, use that piece to match the dye to the one being dyed, but here’s the trick…wet it first! Colours always dry lighter so you need to compare it to the wet colour just like the ones in your dye bath.
Fibre content – Find out what your trims are made of. Polyester won’t dye with acid dyes so you need to use trims and fabrics which are nylon or polyamide fibres.
Keep stirring! The more you stir the more chance you will have an even dye as the dye is able to get to all the areas of the material.
Post dye – Be careful when wringing the water out of the material after you’ve dyed it, just squeeze it gently. Twisting can cause the material to become distorted which then would show as an un even dye. Then leave to air dye.
I recommend Jacquard acid dyes for dyeing nylon materials.
Top tips on dyeing a specific shade
Jacquard dyes have lots of colours to choose from which is great, however they do tend to be quite bright. The art of acid dyeing or perhaps any synthetic dyeing is to create beautiful tones and not the gharish, bright ones they tend to be out of the packet! I’ve found true red is the hardest colour to achieve so If you want red, try Rit dye instead, (not yet tried myself, but I’ve seen good results from others.) The Jacquard ones will just give you bright pink! Although if anyone has found different I’d be interested to hear from you!
I routinely use black and ecru to get the tones right in my dyeing, black for a deeper colour and ecru for a pastel colour. They both take away the gharishness. As I tend to like slightly muted and deep colours, this works very well for me, but with other colours such as yellow, you don’t want a dirty yellow so there’s no need to add any black or ecru to change the tone. It really depends what colour you are after.
I will tell you the truth, I am very particular with my colours, so sampling and getting the colours just right can take the lonest time for me. However, once you’ve got your golden recipe for the perfect colour you wanted, you can use it over and over again, so it really is worth pursuing!
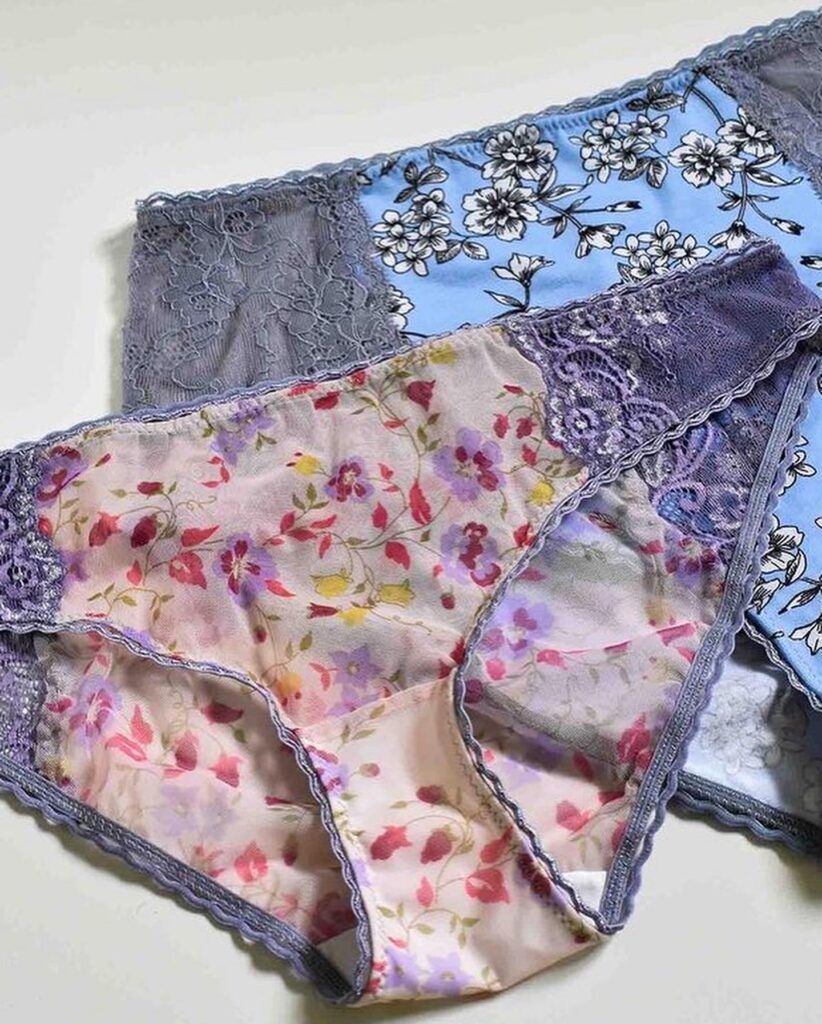
Dyeing Inspiration – Here are some of the projects where I’ve used dyeing to create a unique and fun creation
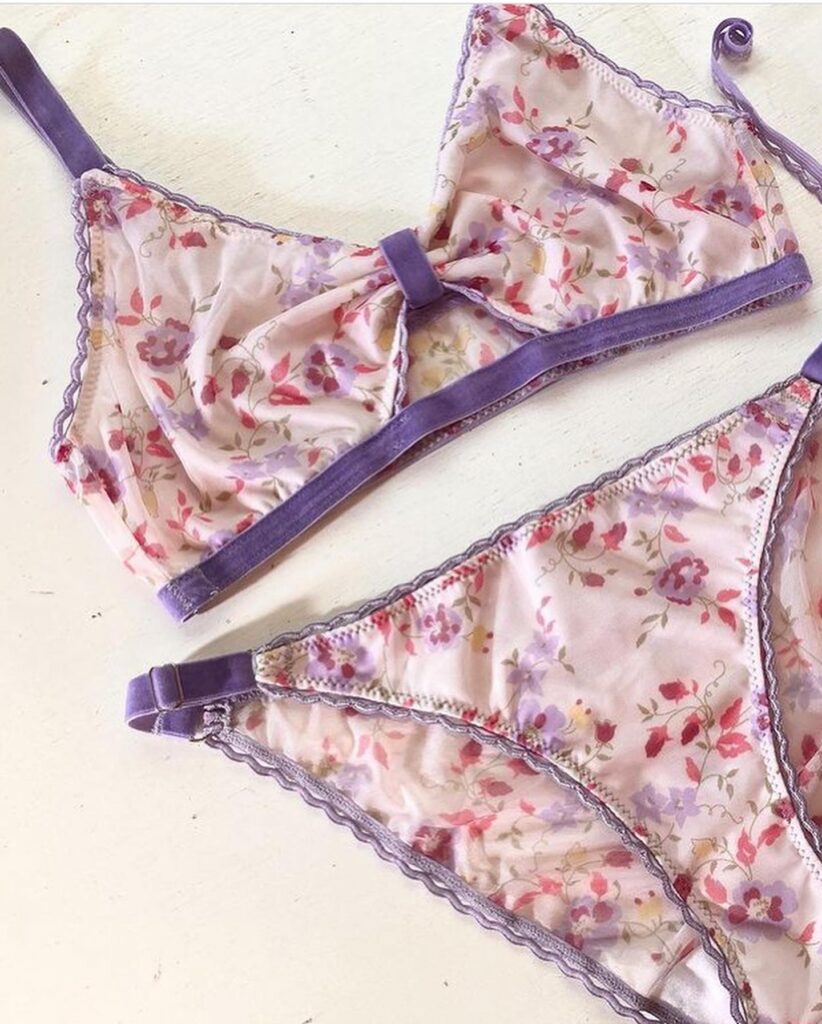
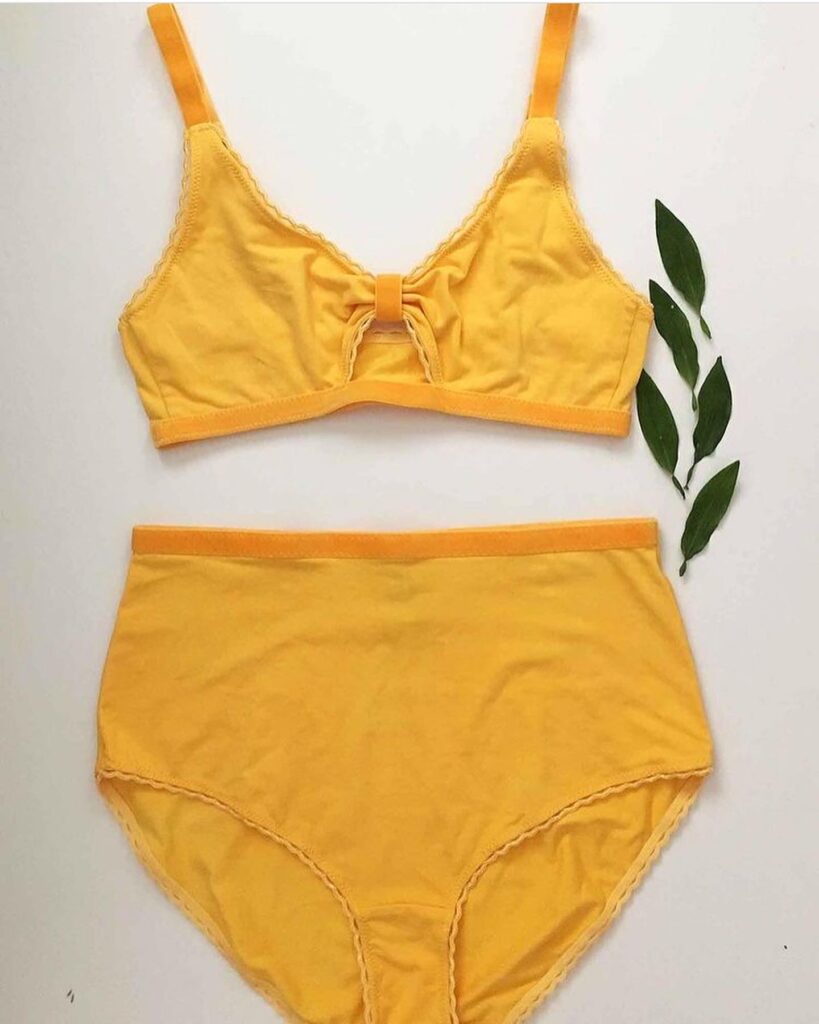
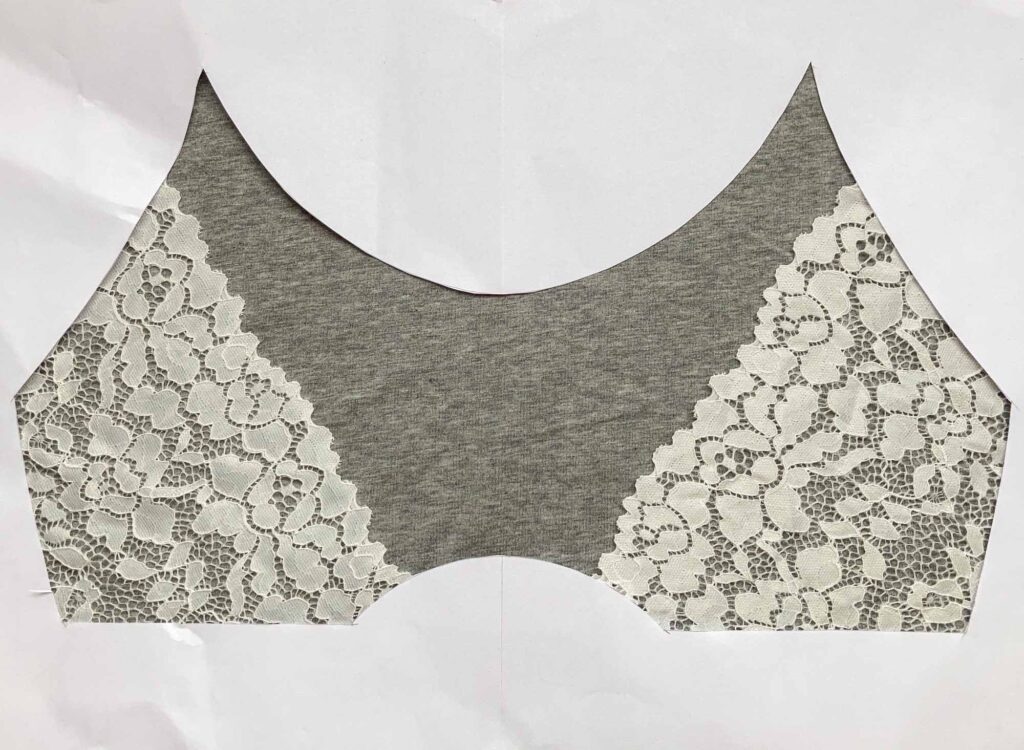
I hand dyed the trims and lace in this bralette and knicker sewing kit so I could get the exact shade to match the beautiful floral mesh.
I hope this has inspired to start dyeing your own trims and laces for your lingerie makes! Do comment and/or submit photos and let me know how it goes.
*Anything I am recommending is because I love it, I’ve not been asked to recommend these products but if you do decide to purchase anything using an Amazon link, I will receive a very small amount as an affiliate but this doesn’t cost you more at all and it helps us, as a small business grow.