How to make menstrual pads (Tutorial and FREE pattern)
If you are looking to create sustainable menstrual pads then this is the post for you!
In this post we will go through the full tutorial on how to make your own menstrual pads and you can grab your free pattern too.
I originally made this pattern because I took part in a charity campaign where I put together dignity kits for young girls in Sierra Leone. The charity was General 1 — A Girl At A Time (SL). In the dignity kit I also included my home sewn menstrual pads.
Although the deadline for sending dignity kits has passed, you can download the menstrual pad pattern for free that I created.
If you download the pattern please consider donating some of the sewn up pads you make with it to a period poverty charity.
Other charities include – The Pachamama Project | Bristol
Download the FREE Menstrual Pad Pattern via the link below
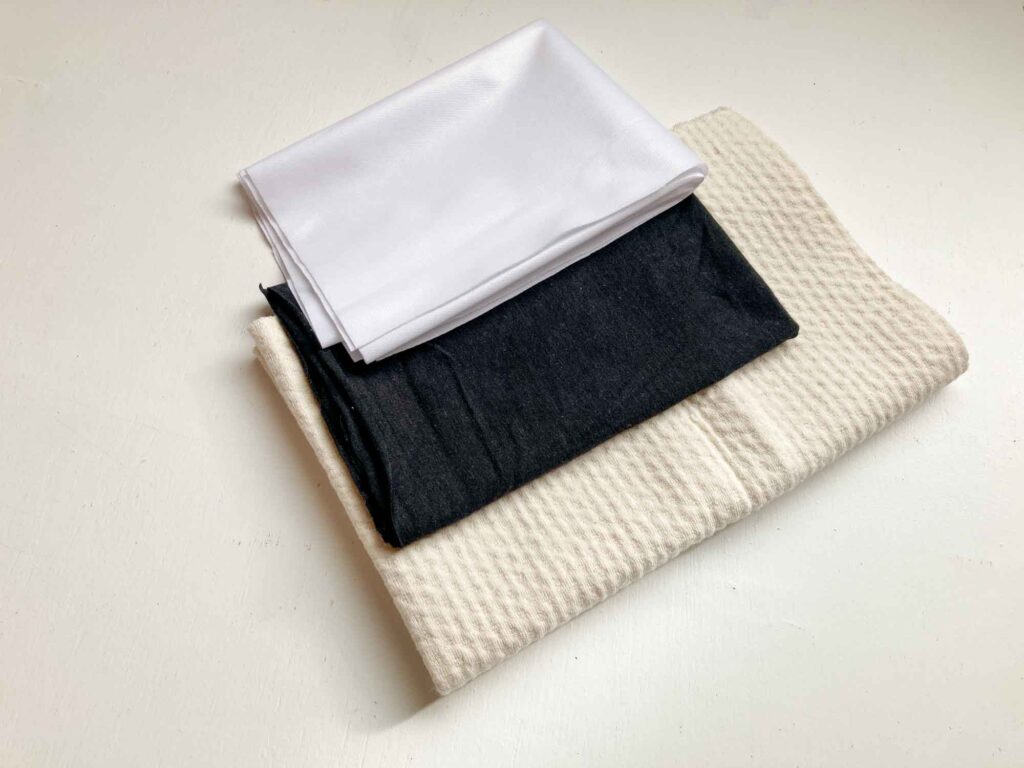
Fabric Information
For the pad I used woven cotton for the outer layer (that goes against the knicker), Zorb for the absorbent layer and bamboo jersey for the layer against the skin. You can easily substitute the absorbent layer for towelling and the bamboo jersey for cotton. I used a snap fastener but this can be substituted for Velcro.
You can grab a kit here with all the technical fabrics in to make your own menstrual pads here.
Cut out your fabrics using the Free pattern
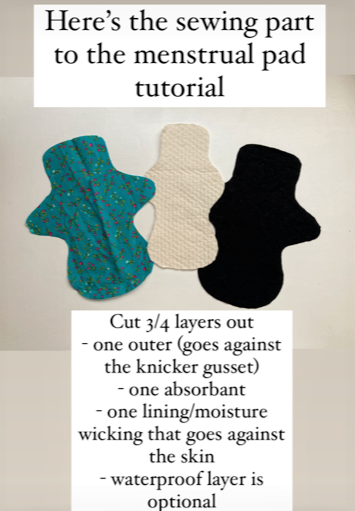
- Firstly cut out your fabrics. There are two pattern pieces in the free download. One is for the absorbent layer and the other one is for the Outer, Liner and waterproof layer (which is optional). This tutorial is only for the menstrual pads without the waterproof layer.
Now to the sewing part
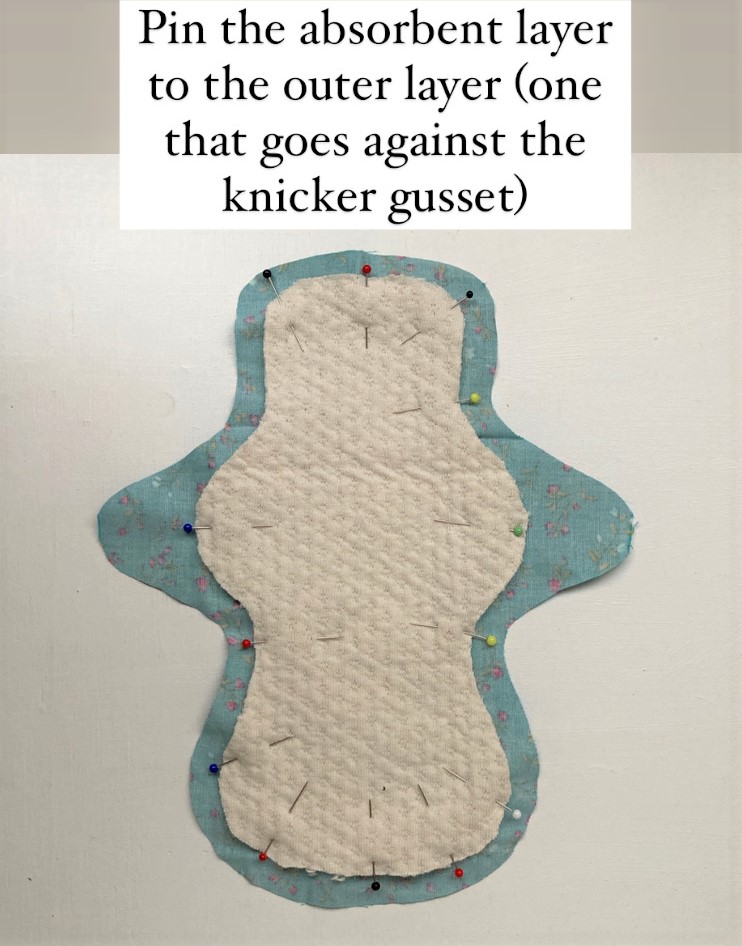
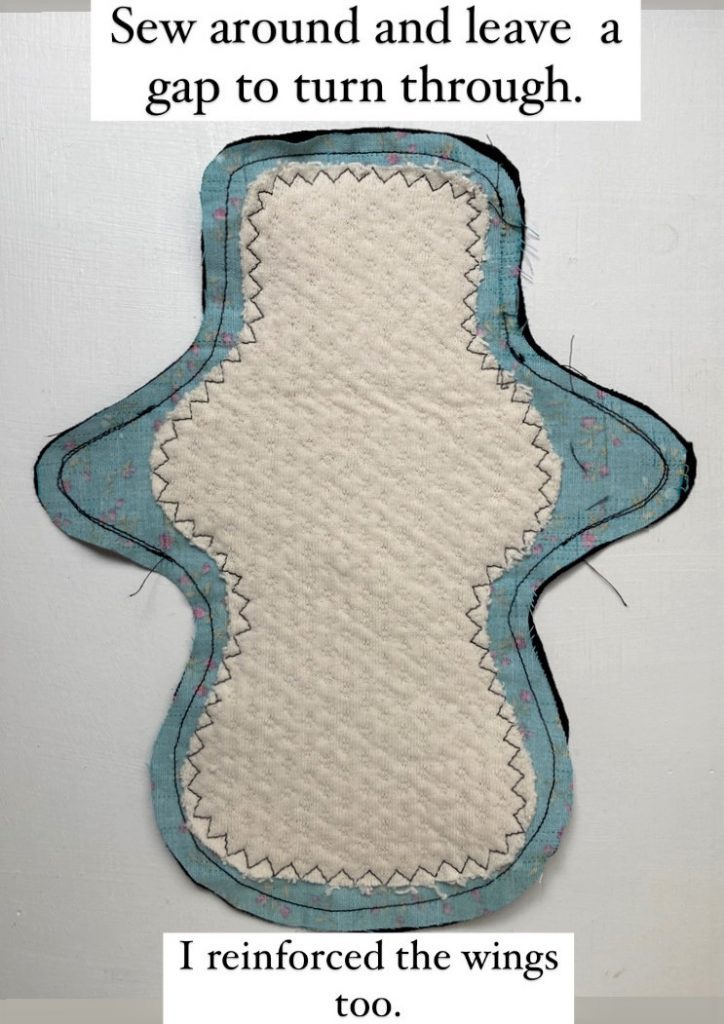
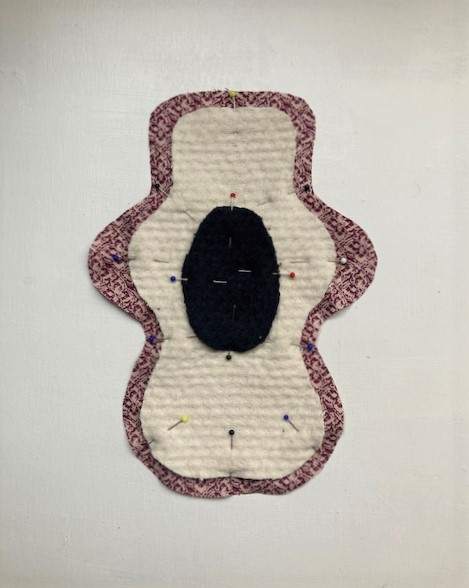
2, Pin the absorbent layer to the inside of the outer layer (the one that goes against the knicker gusset.) Pin all the way around, with more pins at the tight corners if needed.
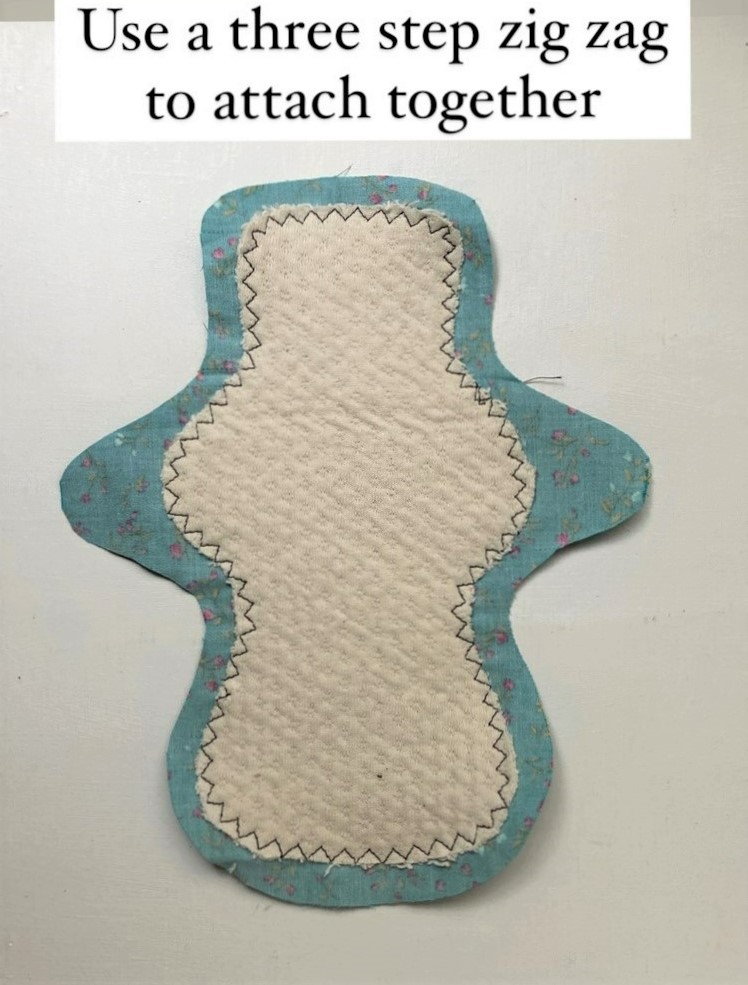
3. Use a large three step zig zag stitch to secure the absorbent layer to the outer fabric. This is top stitched on the underside, so you may want to use matching threads if you want the threads to match the fabric you’ve chosen.
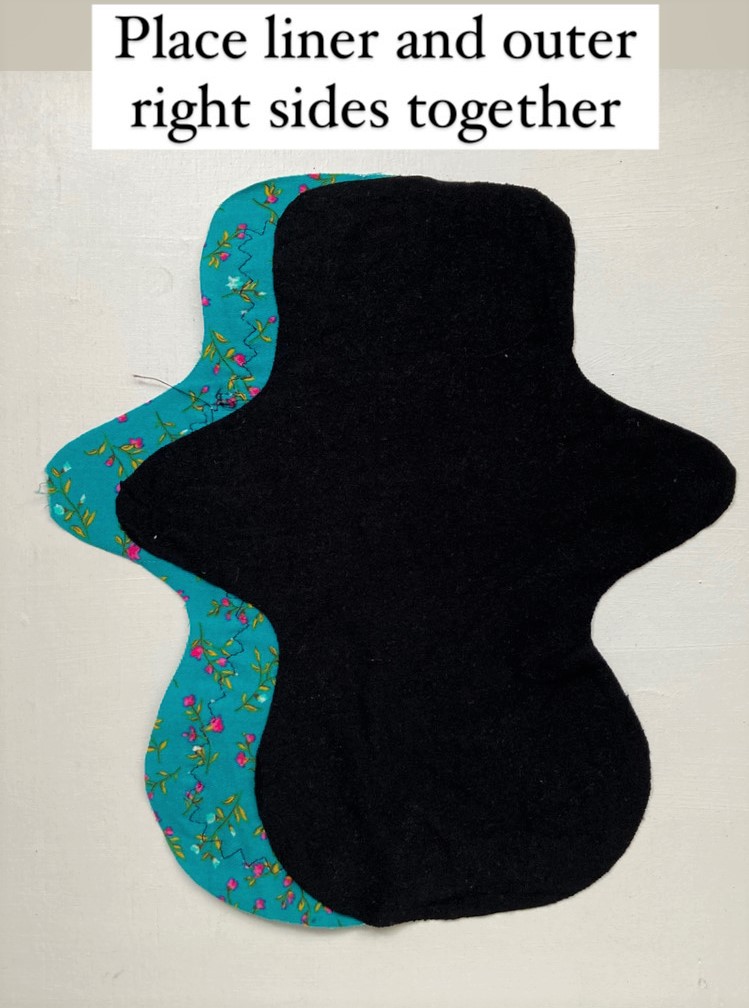
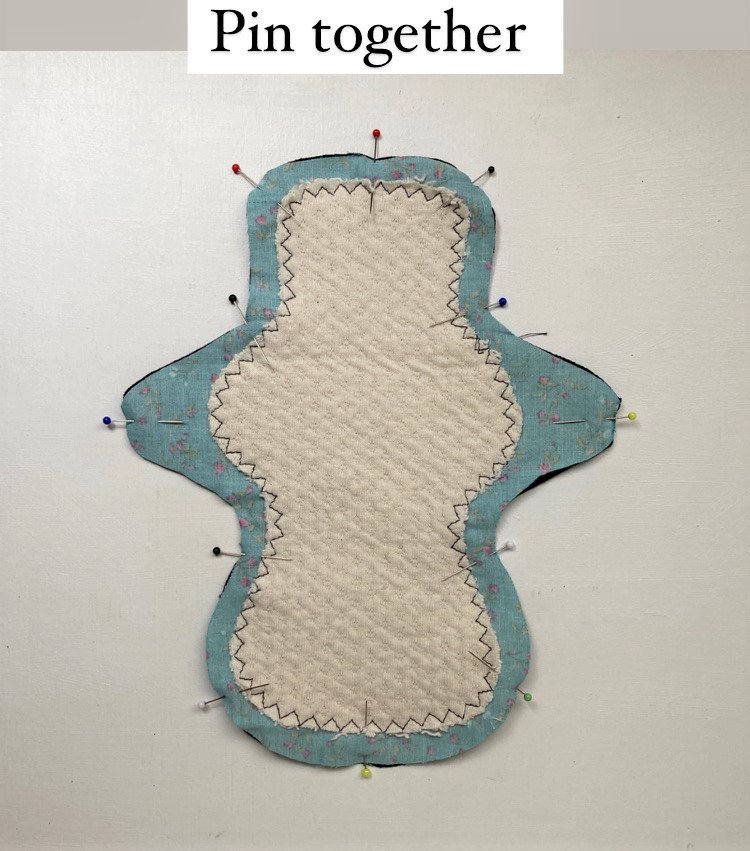
4. Now the absorbent layer is attached to the Outer fabric, you need to attach the liner fabric (the fabric that goes against the skin.) To do this place the right side of the outer fabric to the right side of the liner fabric, pin all the way around and then stitch together using a medium size straight stitch. Leave a few centimeters open so you can turn it through.
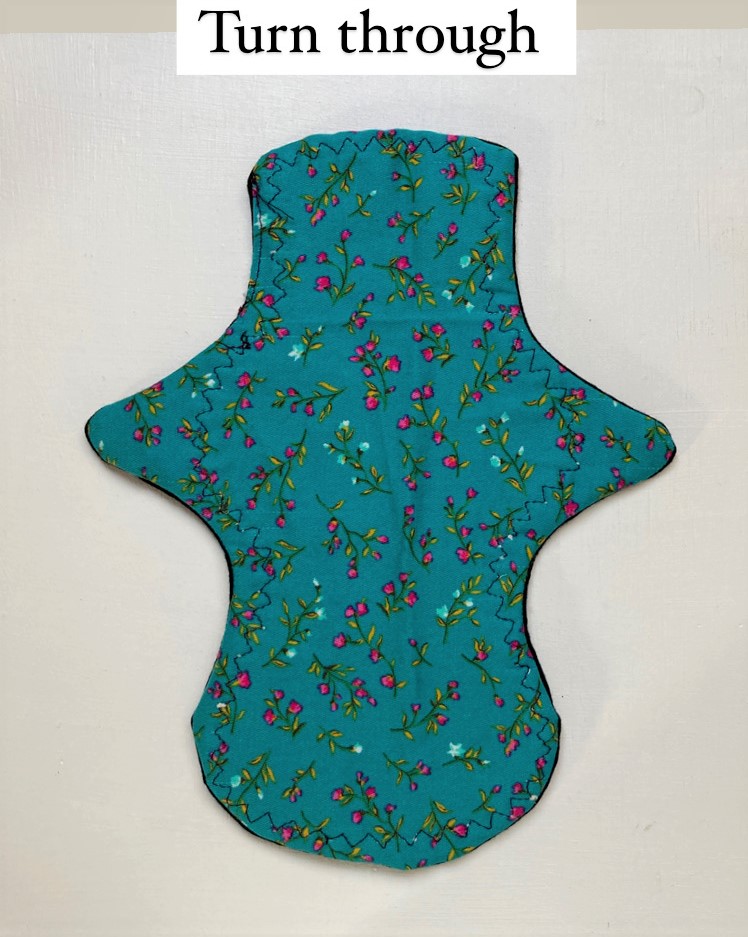
5. Turn the fabric through the hole that you left.
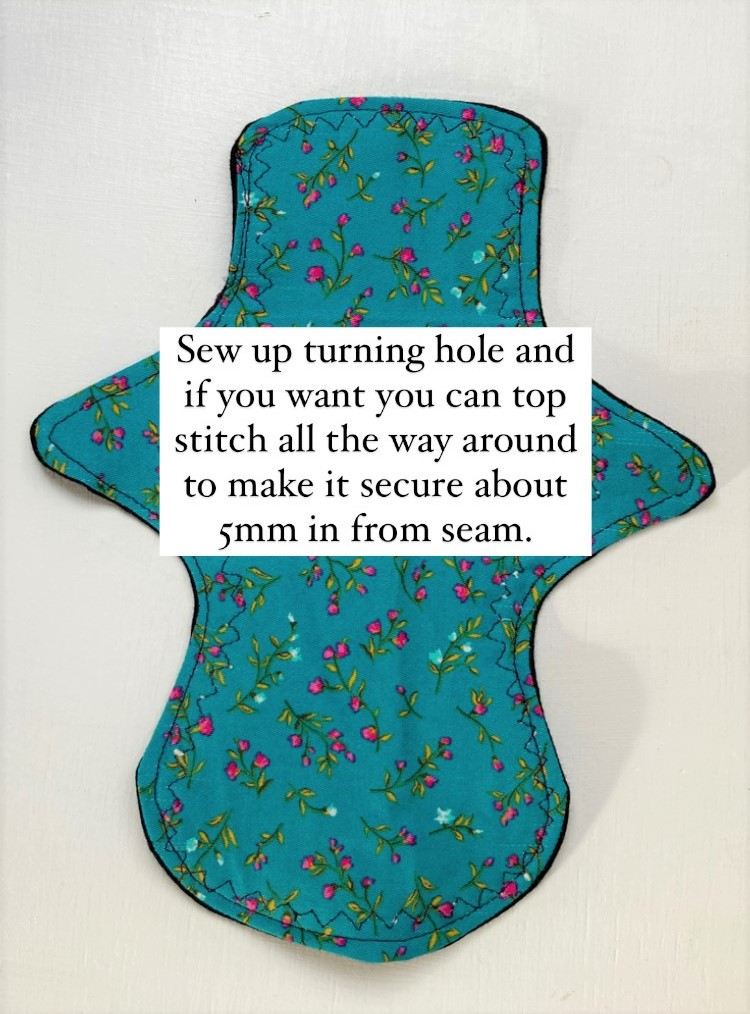
6. Pin the turning hole so the seams are inside the pad and then stitch a top stitch all the way around the outside, (about 5mm in) sewing up the gap at the same time.
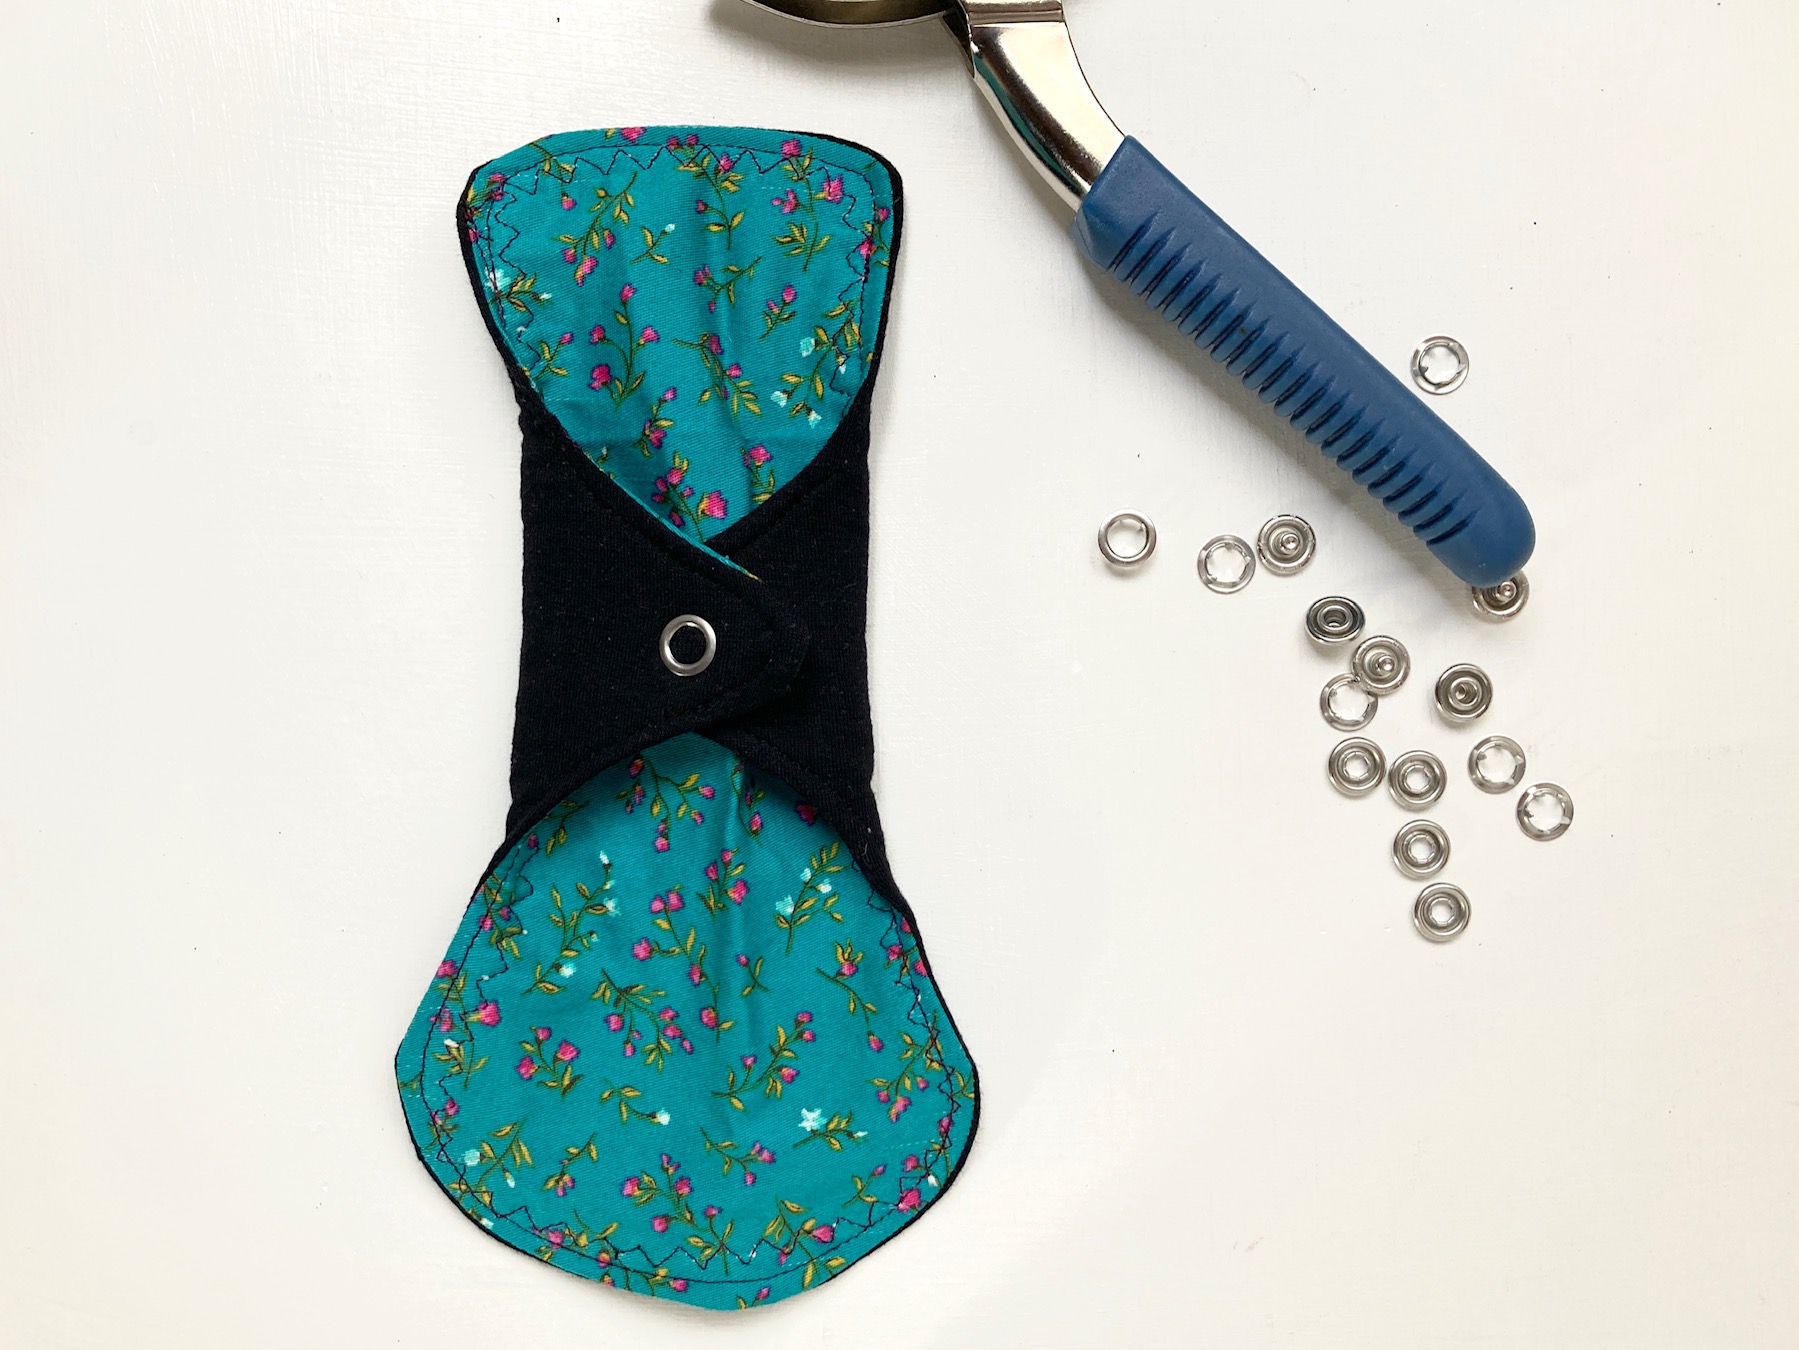
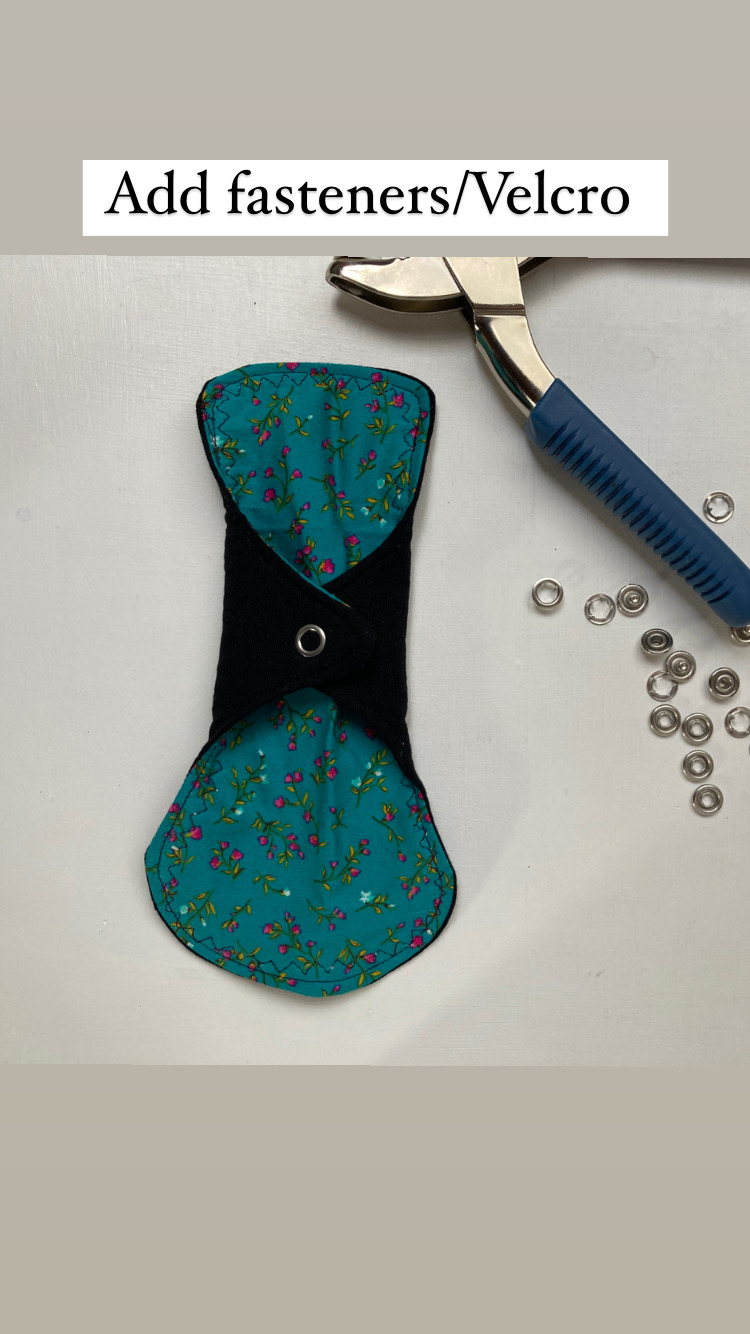
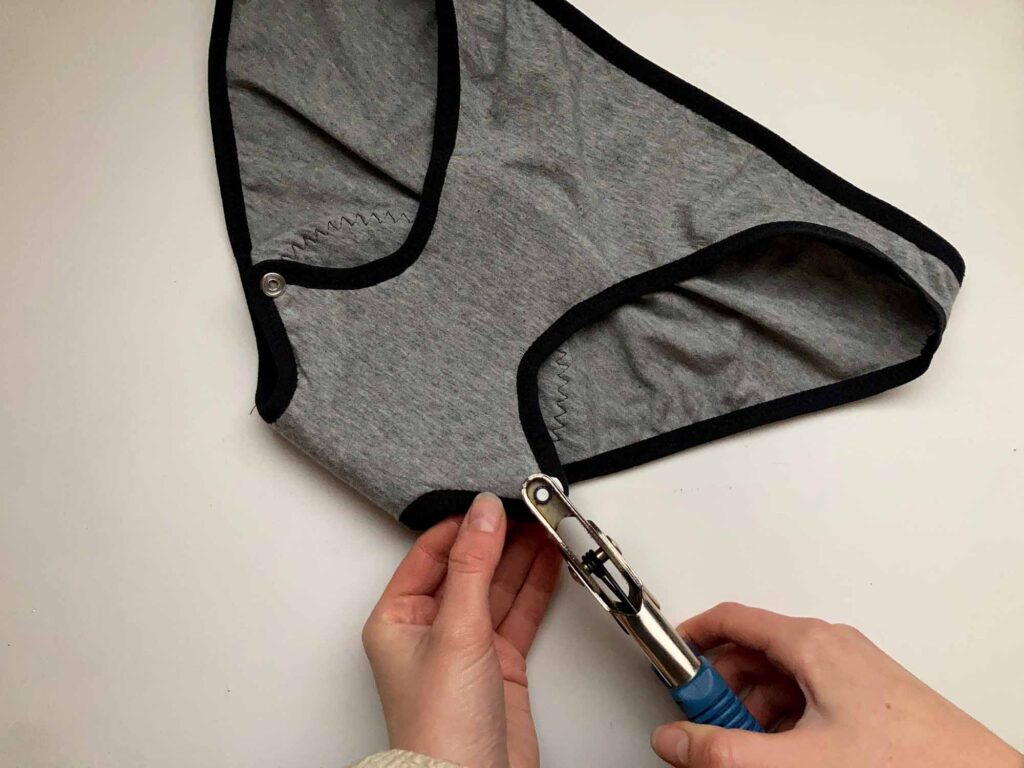
7. Lastly add the fasteners o the wings. I use Prym press fasteners, but you can also use velcro too if you don’t have any of these.


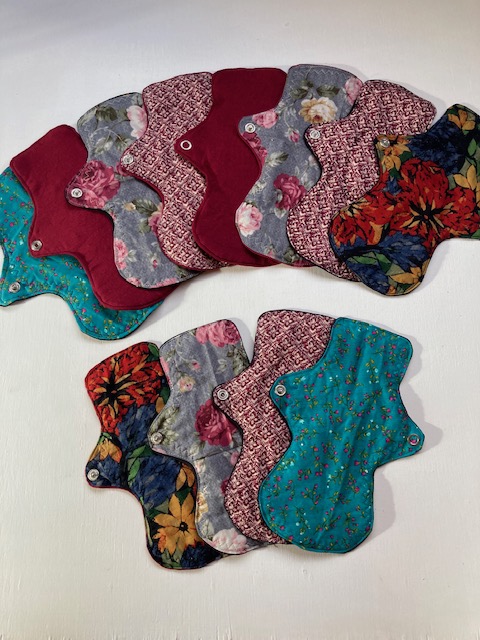
Leave me a comment if you liked this tutorial, or better you can submit photos of you pads, I’d love to see what you made!
And if you loved making these, have you ever thought about making your own period pants?
Ditch your uncomfortable, disposable, expensive, toxic, bleached, period products, and feel fully protected in your underwear alone.
Once you’ve sewn you’re own period pants you’ll never look back!
👋 🩸🍃
Learn to sew your own period pants that work for your personal flow with my Perfect Period Pants Course
Click on the photo to find out more!
Happy sewing,
Yelena


Comments (8)
Kimberley E Oliver
March 19, 2022 at 10:57 am
Thank you very much for this free pattern. Although I am beyond having periods, I will use them for incontinence. In these days it is important to have alternatives and your generosity it very much appreciated. Kim
Flor
March 25, 2023 at 9:06 am
Thanks so much for this! Will start sewing the pads for my daughter. Well appreciated! Flor
sew-projects
November 4, 2023 at 11:14 am
Your welcome! Hope they went well!
Catherine Langford
April 25, 2023 at 9:16 am
Thank you for this pattern. Unfortunately, I have incontinence due to health conditions.
Looking forward to making these and hoping to save money on the horrible commercial made ones. I retire due to health so it be awesome tohave alternatives.
sew-projects
November 4, 2023 at 11:15 am
Hi Catherine, I’m sorry to hear about your ill health but I do hope these helped and yes I know what you mean abut the horrible commercial ones!
Jane Pallett
October 21, 2023 at 10:29 am
When and where would you put a waterproof layer in your construction process?
sew-projects
November 4, 2023 at 11:13 am
Hi Jane. Thanks for the question. You would put a waterproof layer next to the outer fabric and instead of sewing the absorbent layer to the outer that would be sewn to the black layer (fabric closest to the skin) and then you would put the right side of the outer and the right side of the liner together, sew that around and then turn it through the right way. Hope that helps! Yelena.
Lily
April 20, 2024 at 11:16 pm
Thank you for the pattern. I have had cancer lesions removed and the store bought pads are like sandpaper against the area where there is scar tissue. It’s bad enough to go thru the whole cancer thing…I hope I can get several of these made up soon as I have to wear a pad every day.
Comments are closed