In this tutorial I will show you how to understand scalloped edge lace patterns and how to cut them out for lingerie garments.
Understanding the pattern information
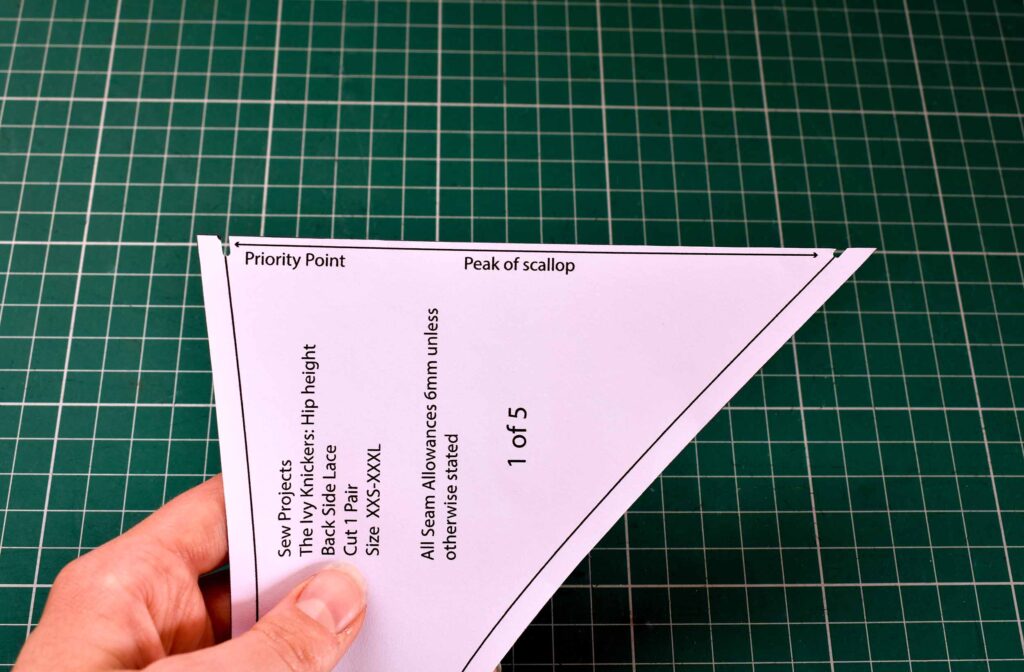
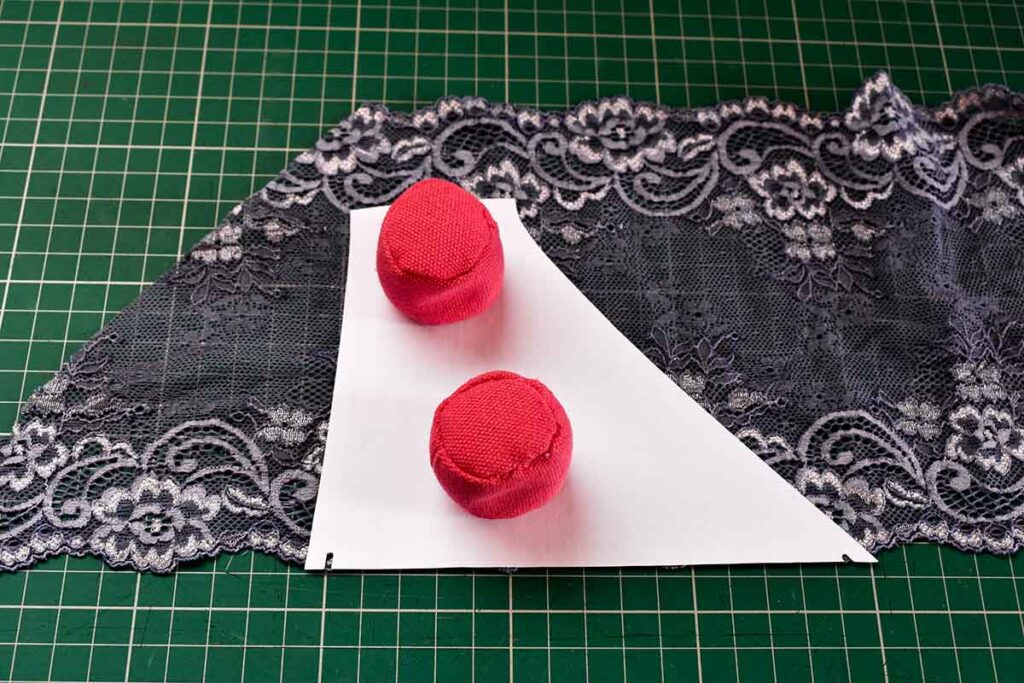
Firstly you need to analyse the information on your pattern piece as this will direct you how exactly to cut it out.
- The long arrow down the edge of the pattern shows which side is to be the scallop edge
- The Priority point is indicated, which could be at either end. In this case it is at the left side of the pattern at the seam allowance.
- The next bit of information ‘Peak of scallop’ tells you what the priority point is. So in this case, the priority point is the peak of the scallop.
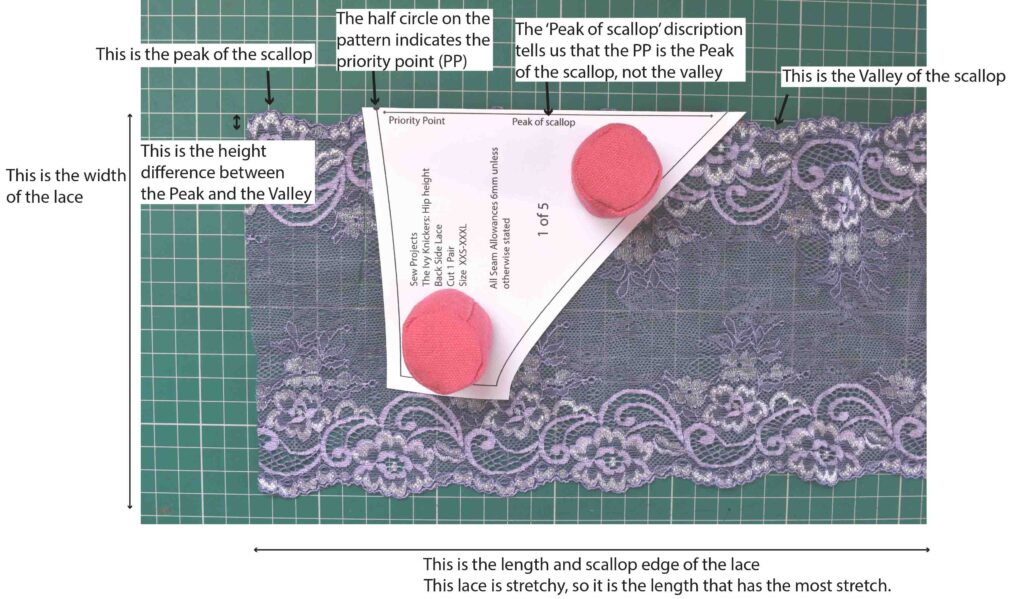
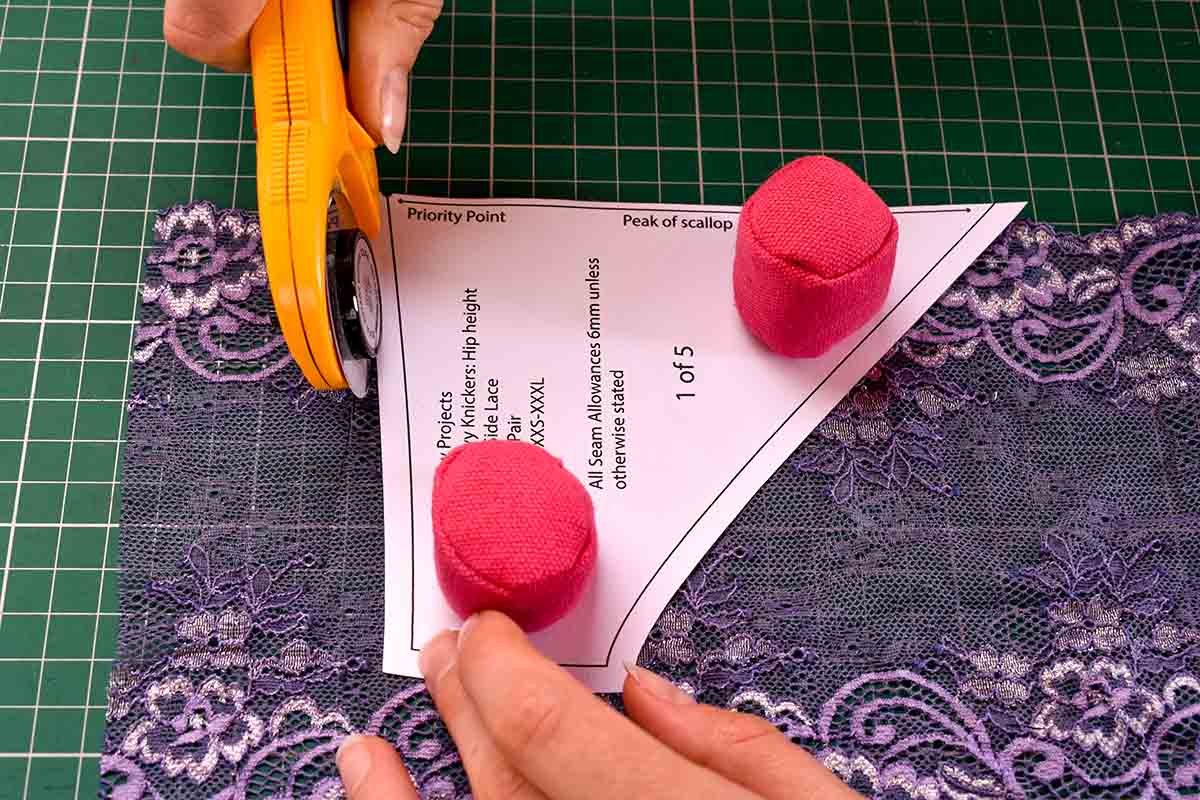
On scalloped edge lace you have peaks and valleys, the peak is the highest point or widest width (which I am pointing to in the above photo) and the valley is the lowest point or shortest width. This is really important when cutting out scalloped edge lace. If you don’t cut it out correctly,
1.) Your pattern may not fit together properly
2.) The scallop edging will not be the desired look (which, trust me can look pretty weird sometimes) and
3.) It allows you to keep the scalloped edge symmetrical.
How to place your patterns correctly
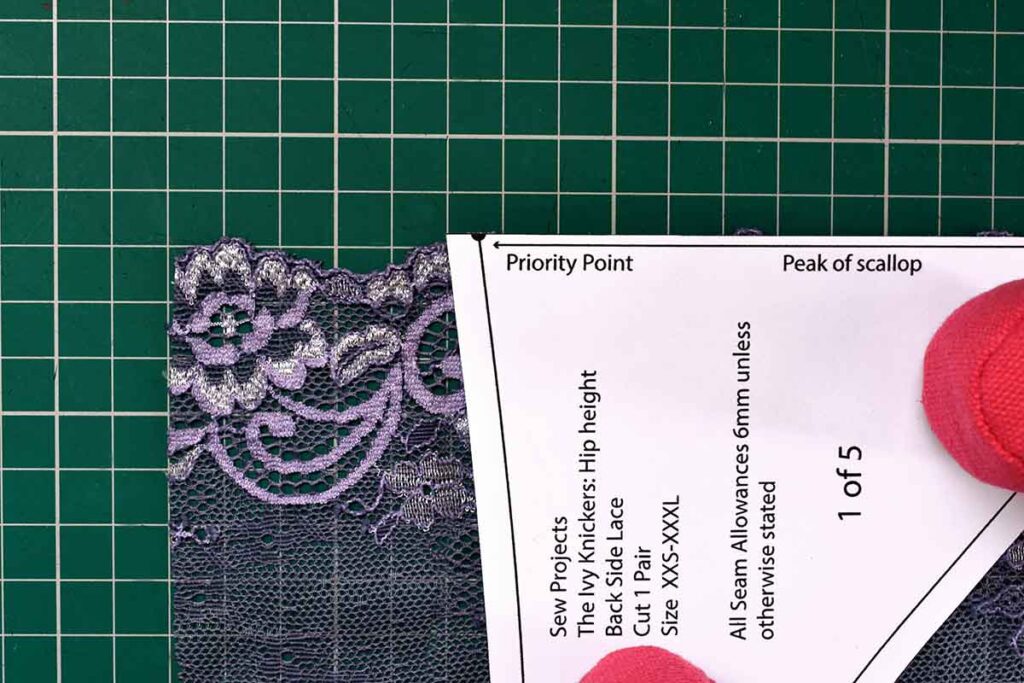

Here you can see the PP is at the peak of the scallop, whilst the other end has no defined point but it still needs to be in line with the edge of the fabric. You may have to tilt this side of the pattern up or down so the notch/sewline is at the fabric edge, but whilst keeping the PP in place.
You are then ready to cut out your first side.
Notch the sew lines
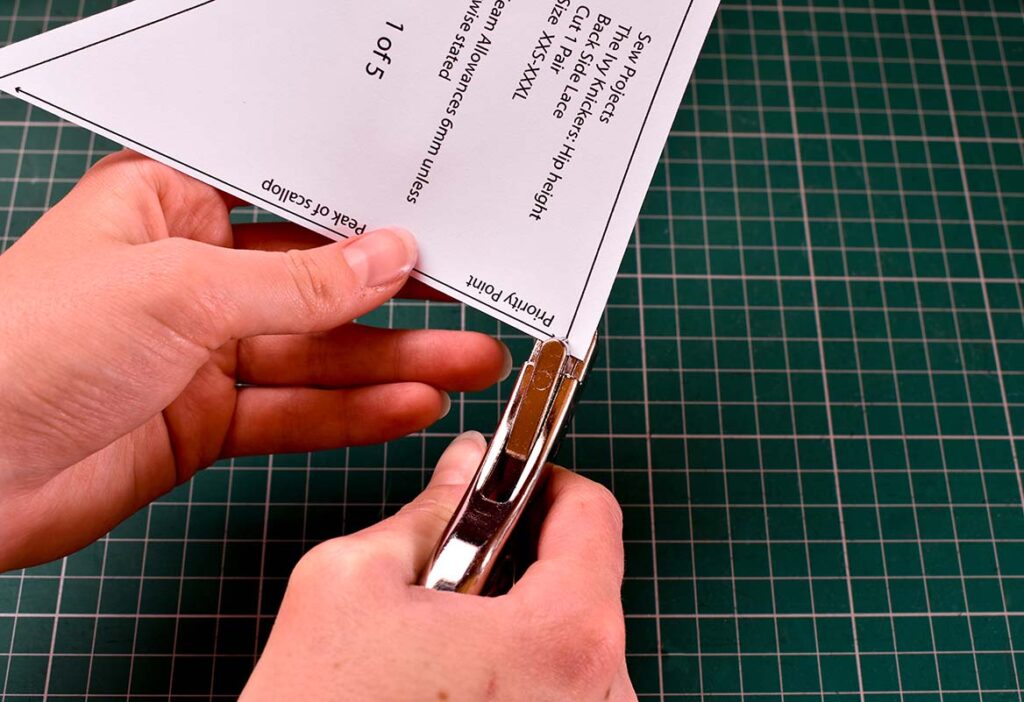
A Pattern Notcher is a great tool when cutting out scalloped edge patterns. So, all the information is on one side of the paper, which allows you to cut one side of the pair out easily, but what about the back? This can be a tricky without making an indication mark on the underside as you need to align you pattern up perfectly to make a symmetrical pair. A pattern notcher makes a small notch cut out to tell you where the sew line is. Scissors are perfectly fine too but a notcher is great if you are doing it more regularly.
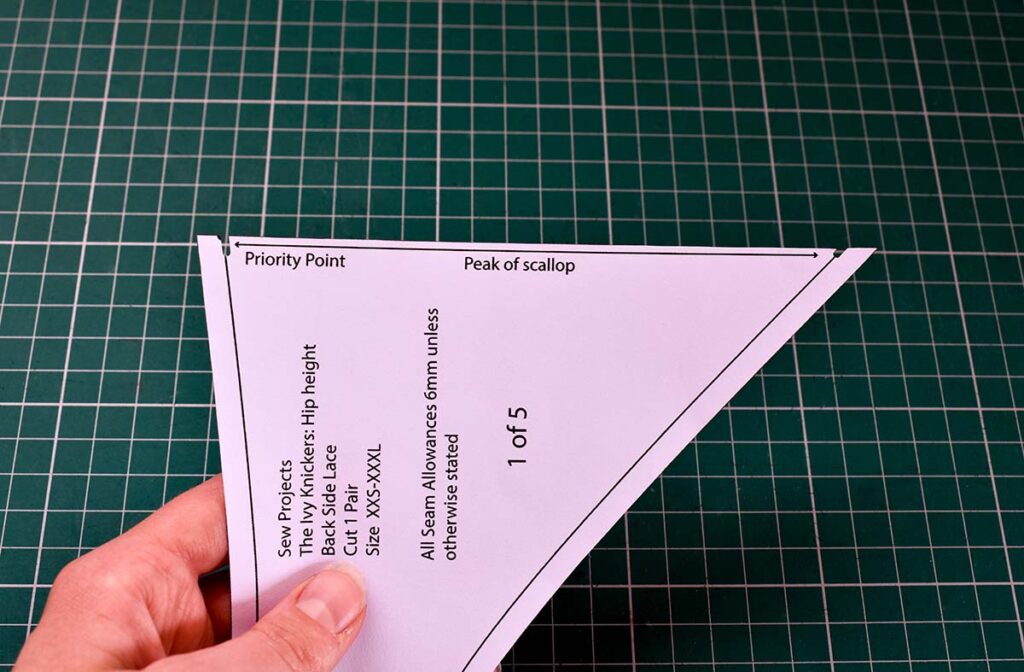
Cut out the matching pair
The photo above may help you to understand better what I mean. As you can see I only have two notch cut outs on the back of my pattern, which tells me all I need to know to cut the lace out correctly. You may also want to indicate which side is the PP so you know which end must be inline with the Peak of the scallop.
As the lace I am using is symmetrical it means that I am able to flip my pattern then use the opposite side to create a symmetrical look. Not all laces are like this, so do analyse you lace first before you cut it out!
A beautiful matching pair!
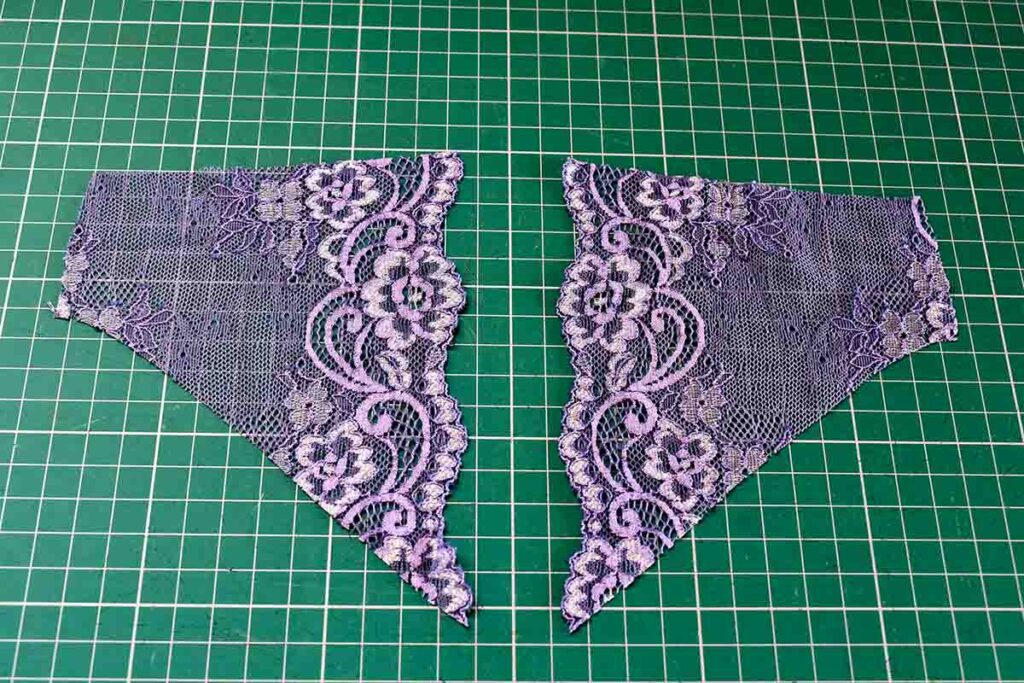
Here we have the cut out pair. What do you think? I would say that’s a pretty symmetrical pair! This method is really simple once you get used to it. If you haven’t used lace yet, why not give it a try and get some practise in before the release of my new pattern, which incorporates scalloped edge lace like this!
Let me know if you found this helpful and if there are any other lace questions you have in the comments below!