How to design your lace placement – The Barbary Bralette
In this post I’m going to show you how to incorporate a beautiful lace into your bralette design without the worry of creating a lace design you don’t like!
If you go ahead and use that expensive lace but you don’t like the outcome, I imagine you’re not going to be best pleased! So here’s a simple way to help you figure out your design and where to place your lace before you sew…
The Barbary bralette pattern is my go to comfy bralette pattern! You can find the pattern here

This technique works well with many patterns but for this tutorial I’m going to use the Barbary Bralette pattern as it’s a great pattern to experiment with lace designs. It’s only one pattern piece that covers the front of the body, so it’s nice and easy to play around with lace placements.
Prepare Paper Template
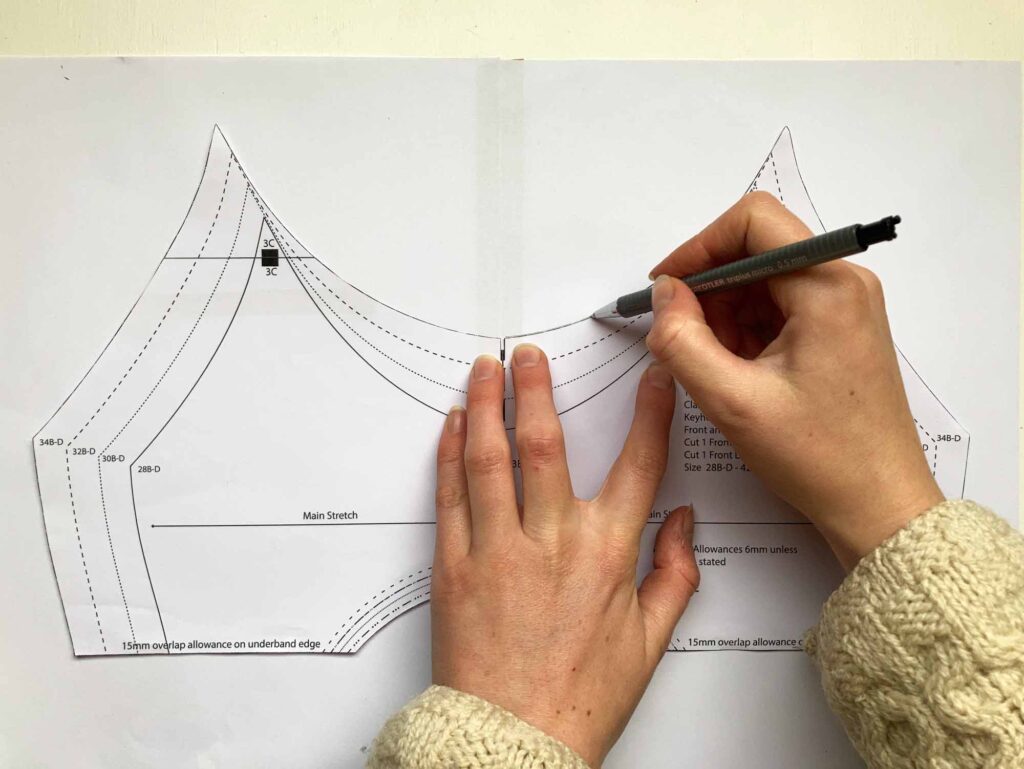
Firstly you need to have a piece of paper large enough to draw around the whole pattern piece, so I just taped two A4 sheets of paper together. Then place your pattern peice that your want to design your lace placement on, on the peice of paper you just taped together. Draw around the pattern piece.
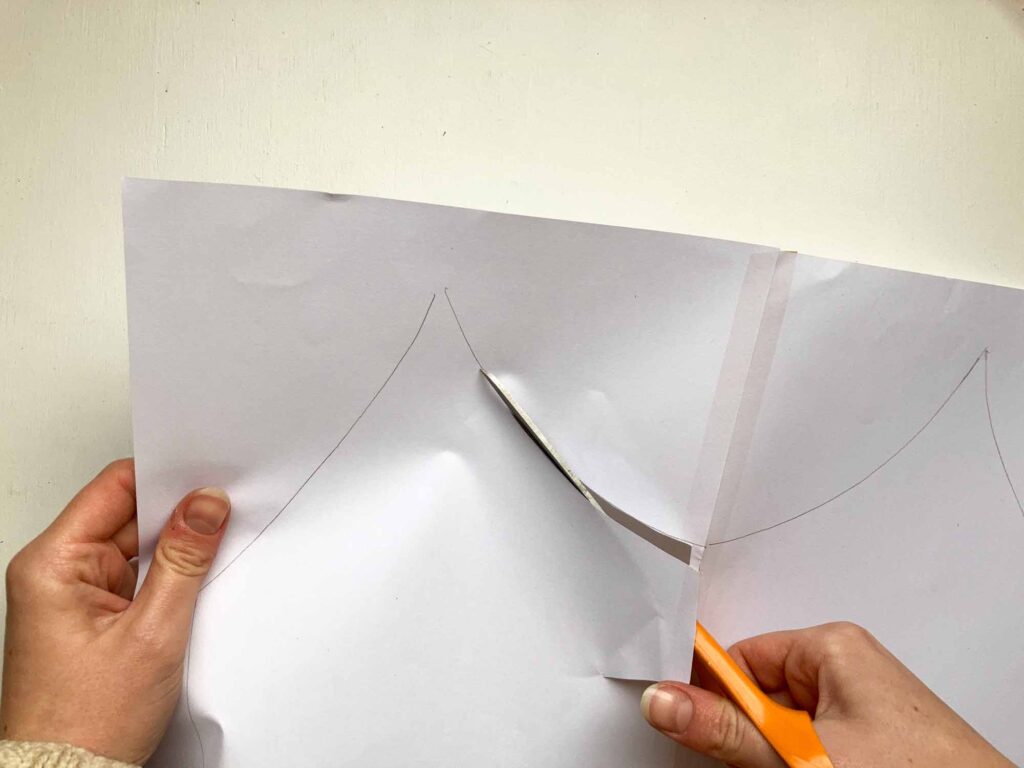
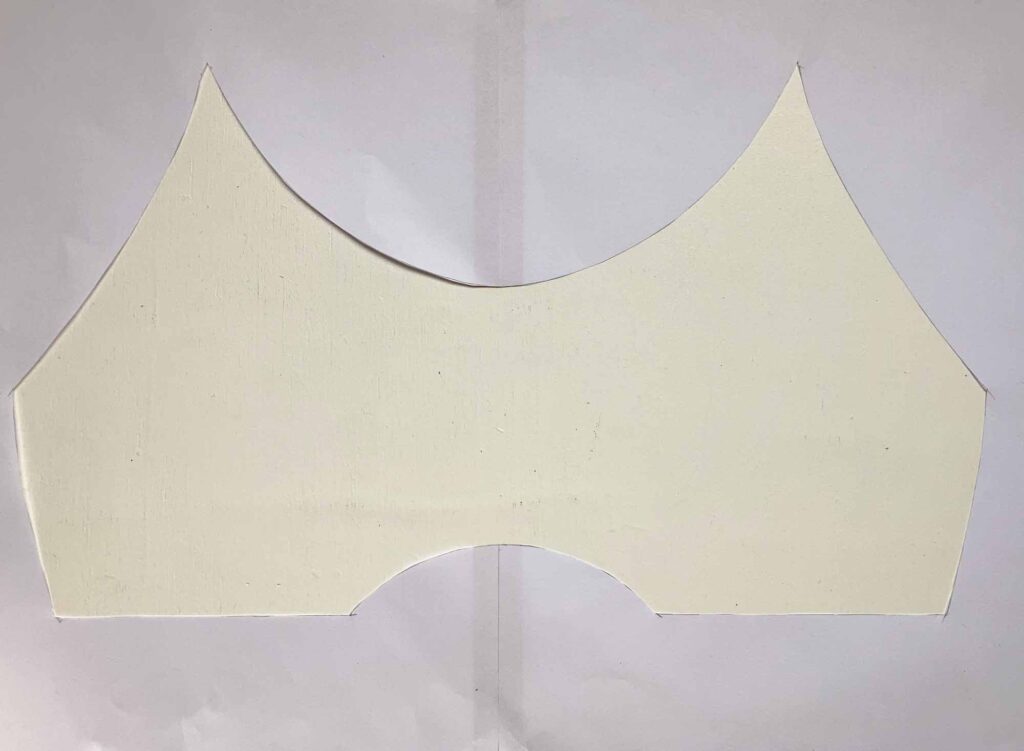
Once you’ve drawn around the pattern, cut out the inside of it.
Now for the fabrics and lace!
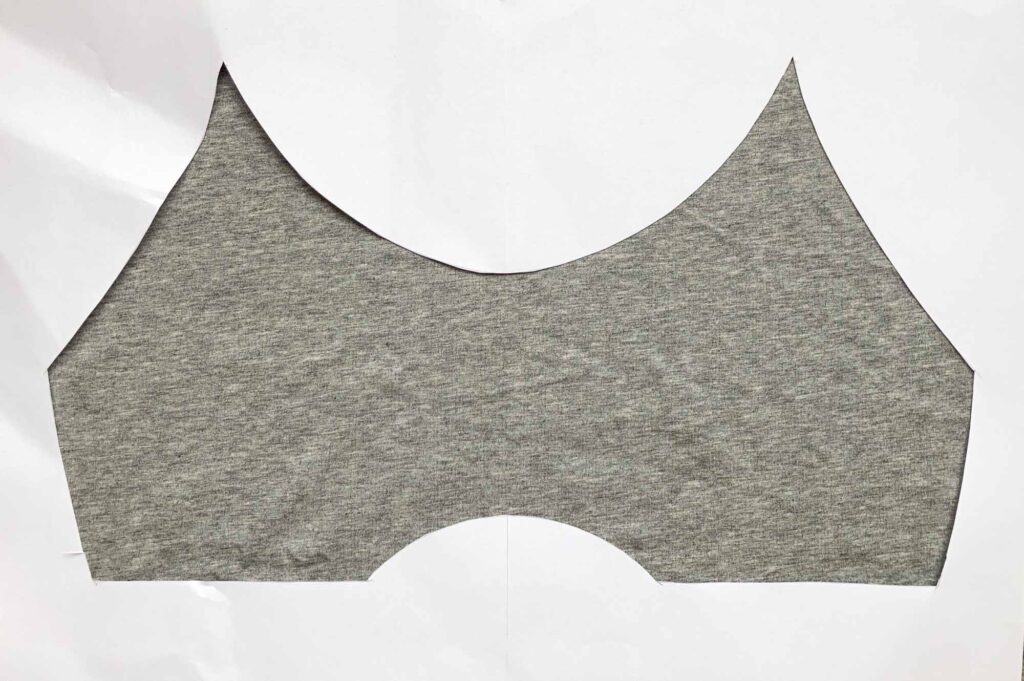
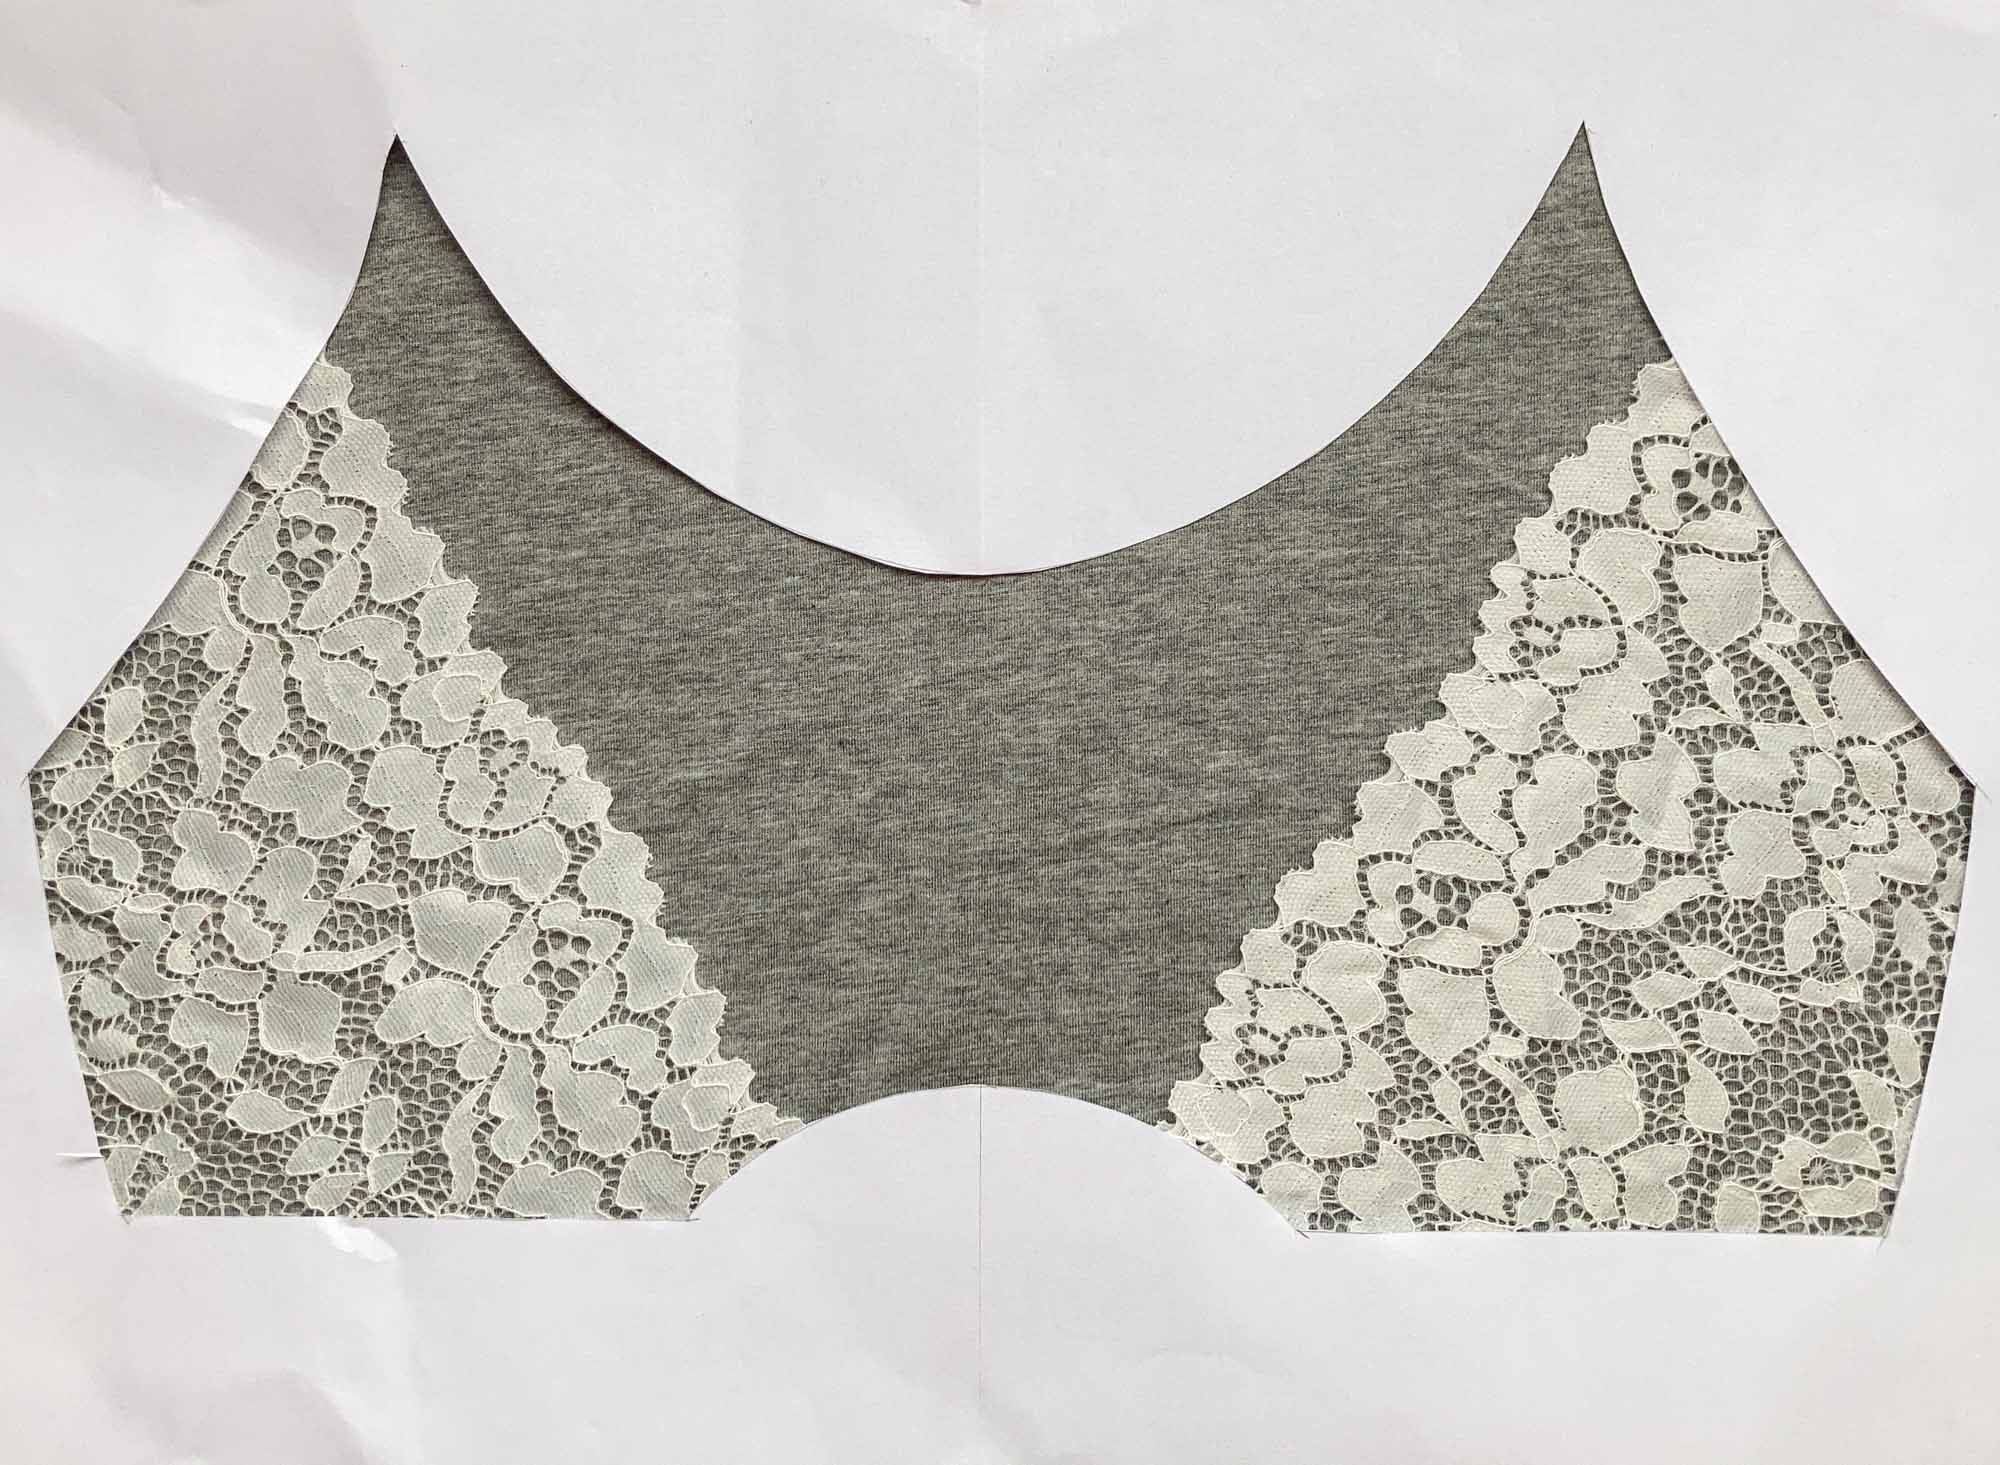
Place your base fabric under the cut out. You can see what’s coming next cant you!
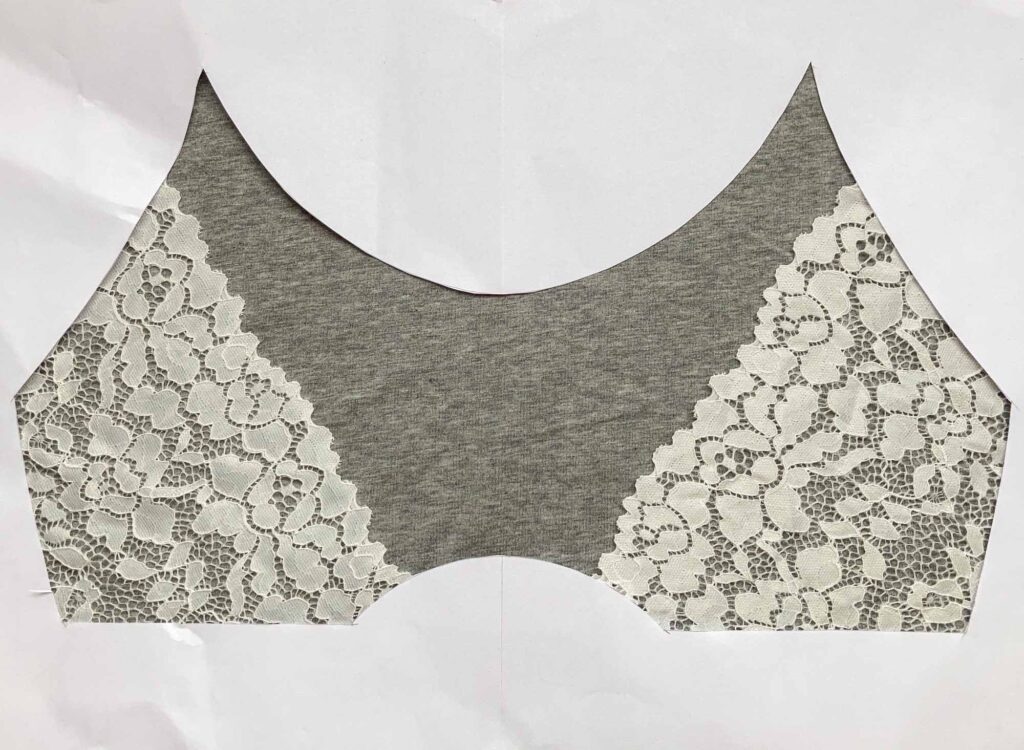
Place your lace under the paper cut out and over your base fabric and design away!
This is is a super simple method to quickly get a good idea of what lace placement you like best for your garment. You can keep it simple or get really creative, it’s up to you!
Here are some other variations that I tried, but you could go even further and fold the lace to act as seams, this would give you even more designs!


I hope you liked the tutorial and hope this method helps you with your lace designs!
If you give this a try I’d love to see your designs!
