How To Print PDF Sewing Patterns
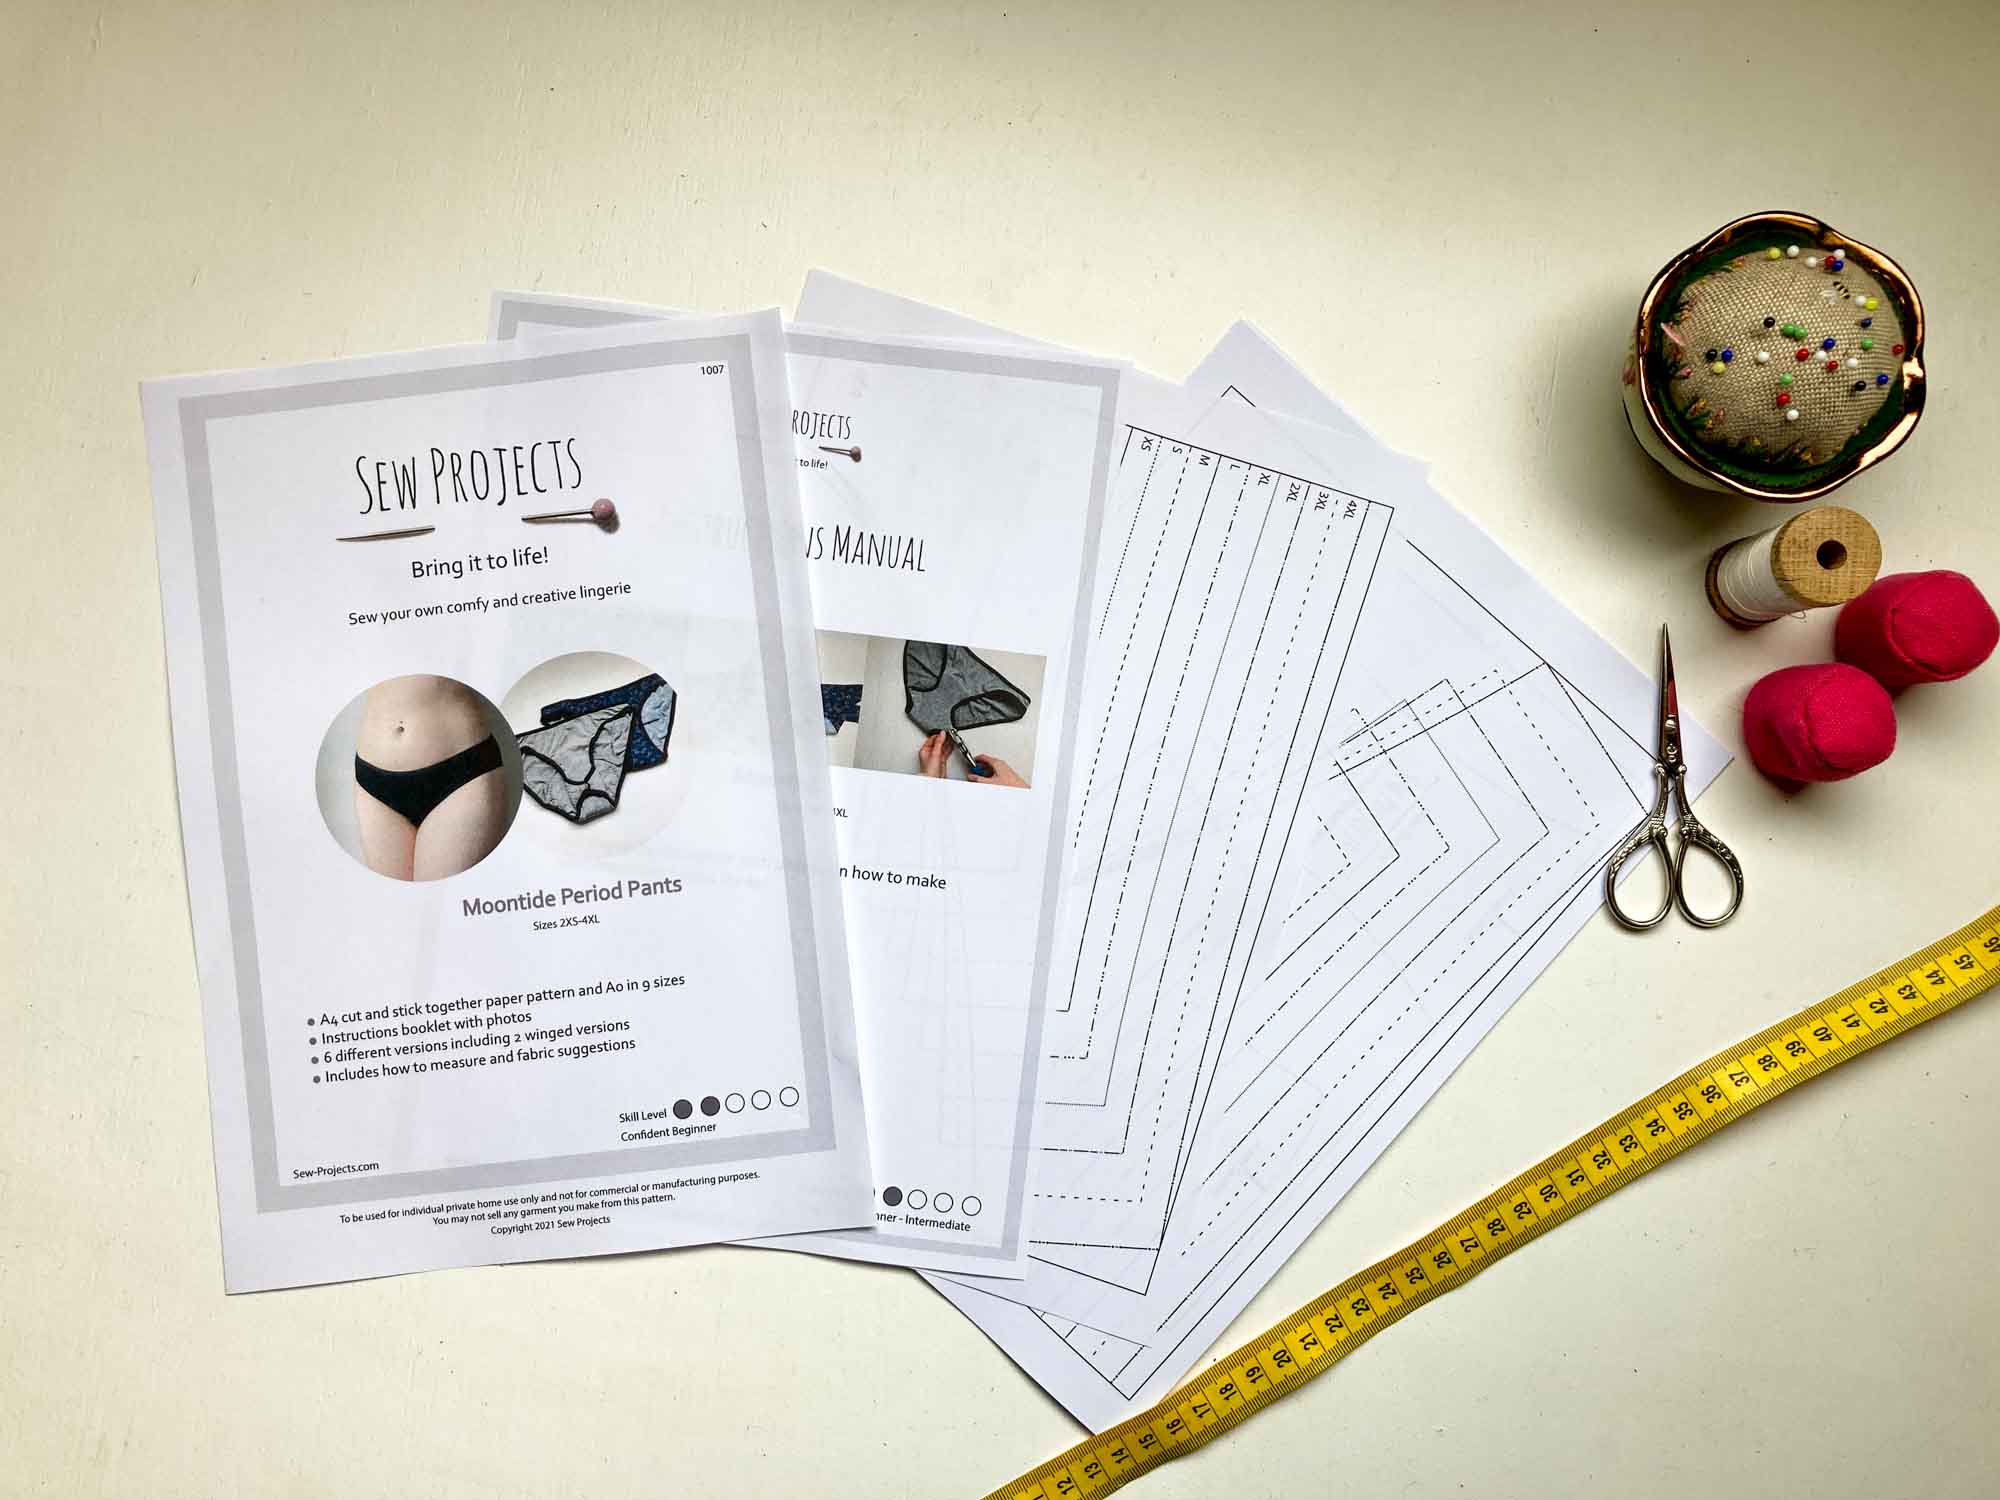
If you’re printing your own sewing patterns at home then this guide will show you how to print PDF/digital patterns using Adobe reader.
Printing your own patterns may seem a little daunting if you’ve not done it before, but its actually very easy and straight forward! I’ll show you how to easily print your own patterns!
Open up your document in Abobe Reader
Abobe reader is a free PDF software reader, and it’s the software I recommend for printing your own patterns. If you don’t already have it, you can download it for free here.
So next go to files where you saved the digital pattern and open the document, if it doesn’t open up in Adobe Reader, you can choose to open it by right clicking on the document and go to ‘open with…’ and then you should be able to choose the software.
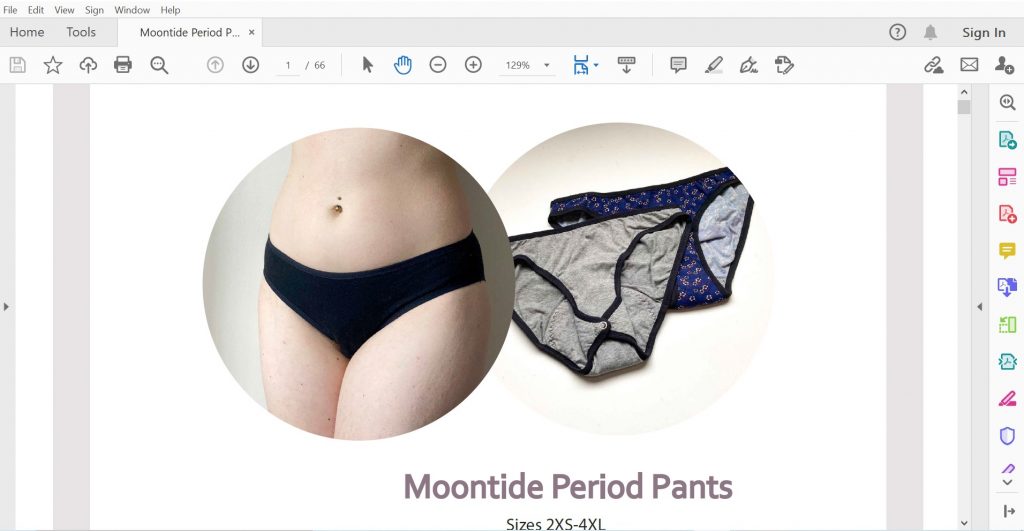
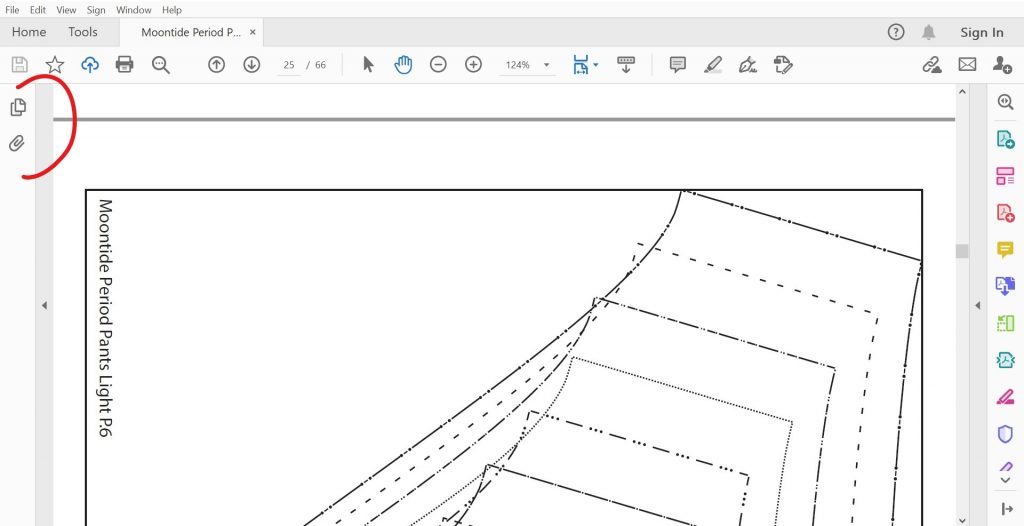
So hopefully after you’ve opened the file, the pattern will display in the reader like the photo below.
Print your test square page
The first thing you’ll want to do with any pattern is to check the test square measures the same size it says it should be when printed out! This is really important, so don’t miss this step out, otherwise you may have garments that do not fit you because the print out wasn’t accurate!
If you pattern has a contents page stating which page the test square is on, then print this page out before you print the whole pattern, otherwise you may have to print it out all over again, which obviously wouldn’t be fun!
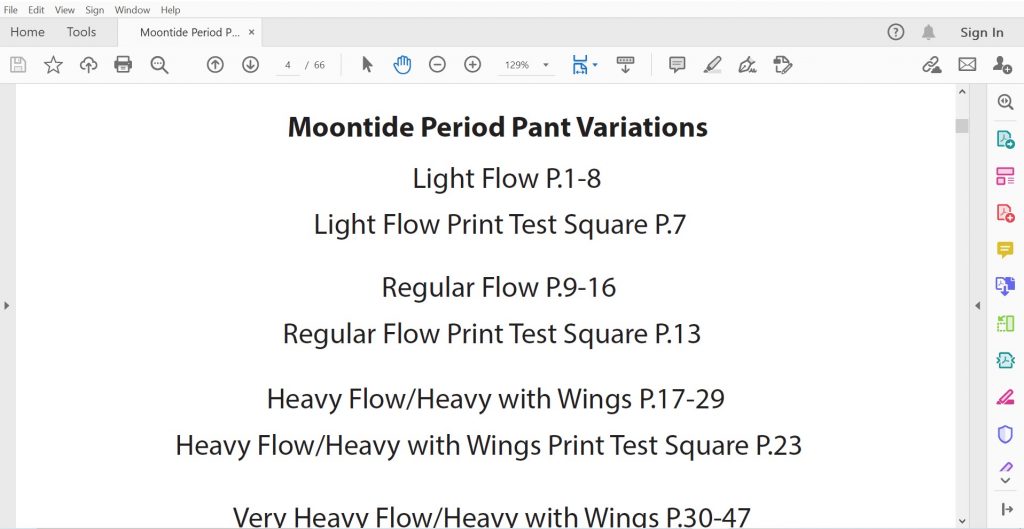
So on this pattern, the contents tells me the test square is on page 7 if I was making the light flow variation. So I need to navigate to the correct page.
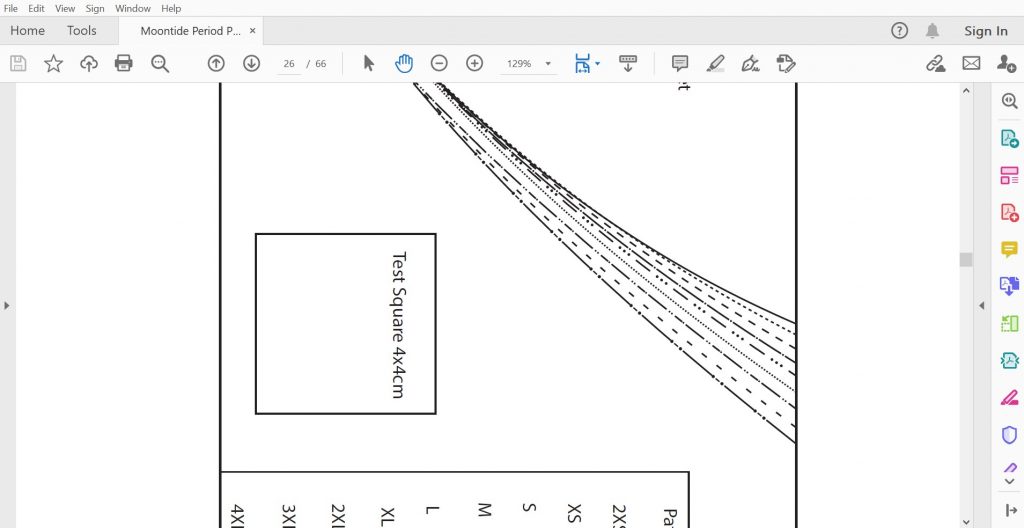
So here I’ve navigated to page 7 of the pattern part of the pattern (not the instructions manual). One thing to note is that the page numbers on the pattern will most likely be different to the pages of the file. So although this is page 7, this is actually page 26 on the file, so make sure you check the page before you go ahead and print.
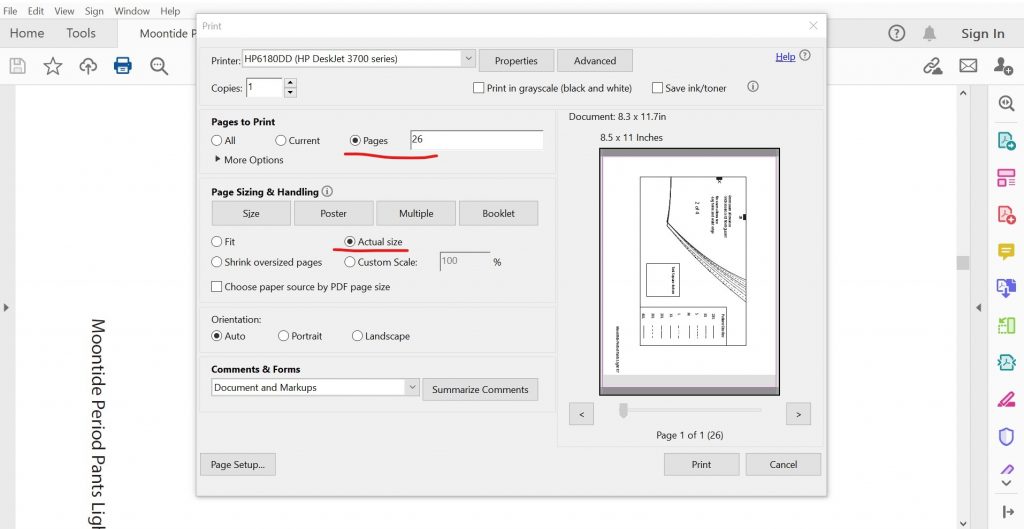
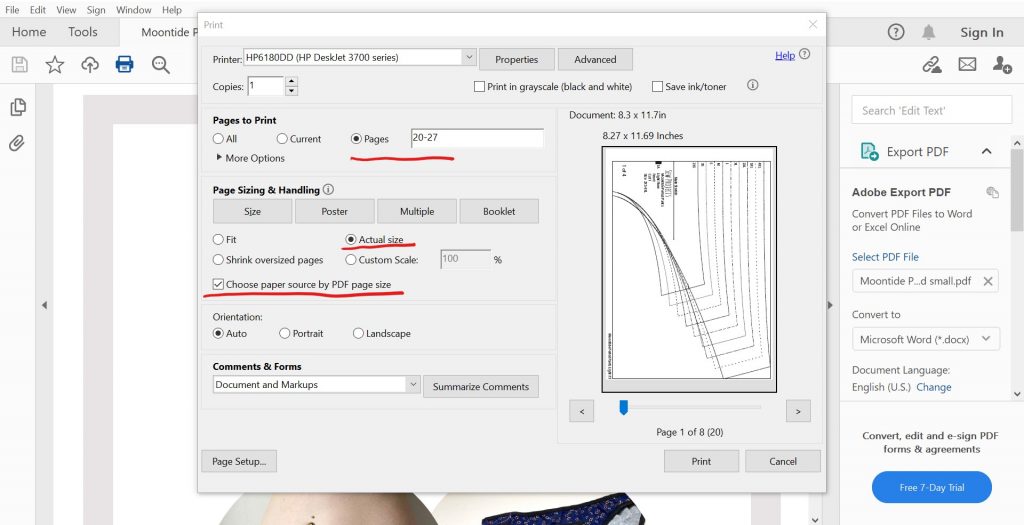
When you print the test page you’ll want to make sure all the print settings are correct. So the most important thing is to choose ‘actual size’ of the page sizing and handling menu. If you choose ‘fit’ or any other options, this will change the scale of the pattern, which you don’t want!
Ok great! So you’ve printed your test page and you’ve measured the test box to make sure it’s the same measurement it says it is. The next thing to do is to print your pattern.
Print the pattern
You can choose to only print the pattern part of the file, or if you prefer to have the instructions printed out you can print that out too. In the case that I’m only printing the pattern part and the particular variation I’m going to make, then I only need to print those pages. Go back to the contents (if your pattern has one) and navigate to the pages of the variation.
Layers
Some patterns have layers so that you can print out your size only (or selected sizes), making it easier to use. If your pattern has layers you can open this tab on the left hand side and there will be a layers option with the different sizes. You can also get here by going to View – Show/Hide – Navigation panes – Layers. This pattern doesn’t have any layers so the layers option won’t show.
For this pattern, I just want to print out the Light Flow variation, so I’ve used the contents to navigate to the correct pages, but these page numbers are different to the file pages so when you print out the pattern make sure you go by the pages in the file. Again make sure you print using the option ‘actual size’ and you can you tick the ‘choose paper source by PDF page size’ which will make sure it will print in A4.
And that’s it!
You should now be able to cut and stick your pattern together following the pattern instructions manual.
I hope this makes printing your patterns easier, let me know in the comments if it helped or if you have any other questions!
